This is the second time this year that I've completed my own entirely new anime film from start to finish. I'm not used to producing two films in one year, as making an anime film requires a tremendous amount of time and effort, but after seeing the huge audience response to my police film, I decided to repeat the experience. Today, I want to take you on a tour of how I managed to create a completely new anime film, using my own limited experience, the simplest tools, and my own unique style.
The idea
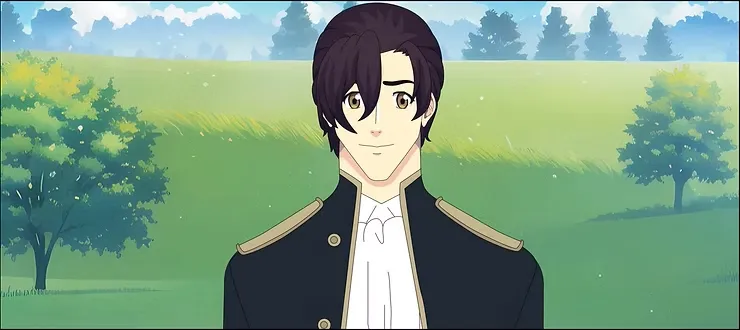
This time, I started with an idea from an old project in 2019, but I decided to remake it, adding new details and improving the drawing and animation to enhance my own anime film. As you know, as the years go by, we learn and acquire new skills in anime production, and we know how to improve our work.
The story includes new details, in addition to the fact that I changed what was in the old anime.
The right sketch when making an anime film
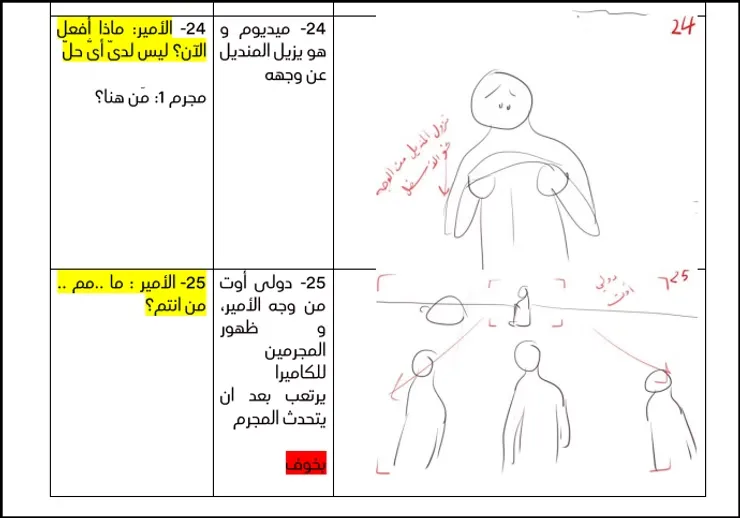
For me, an anime film cannot be made without sketches. Drawing a draft of all the anime scenes is essential, and I absolutely cannot do without it. I draw the sketch, arrange the scenes, number them, and include everything in a precise table, from scene numbers to dialogues and emotions. This organization makes everything easier later on.
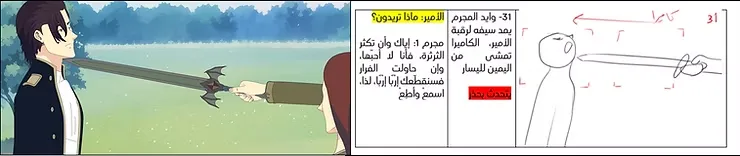
As you can see here, the shot number is highlighted in red, and the sketch number is the same, and the background and dubbing numbers also have the same number. This format made my work much easier and helped me organize my affairs while making an anime film.
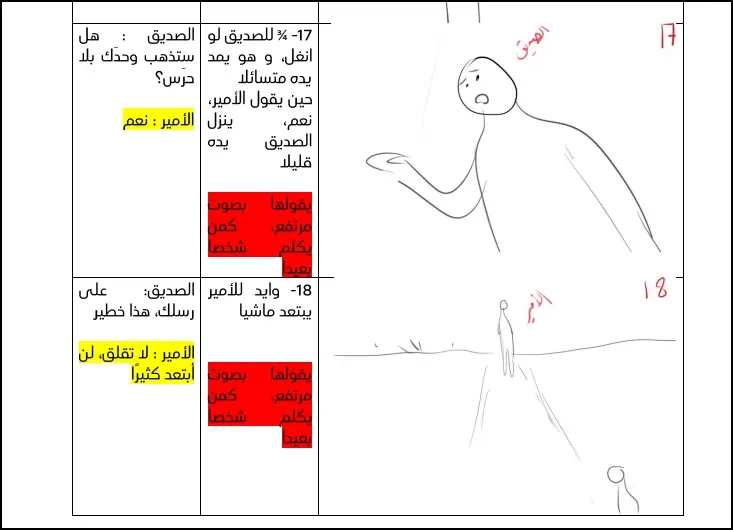
This image is of the protagonist's character profile, which I sent to the voice actor. Since we do the dubbing before animation, I sent him the storyboard, with an explanation of the scene. I highlighted his character's dialogue in yellow, and highlighted expressions such as joy, anger, and others in red. This helped the voice actors, especially since they do not watch the finished video. This chart helped them to visualize the scenes during the dubbing, which helped us a lot while making an anime film.
Backgrounds
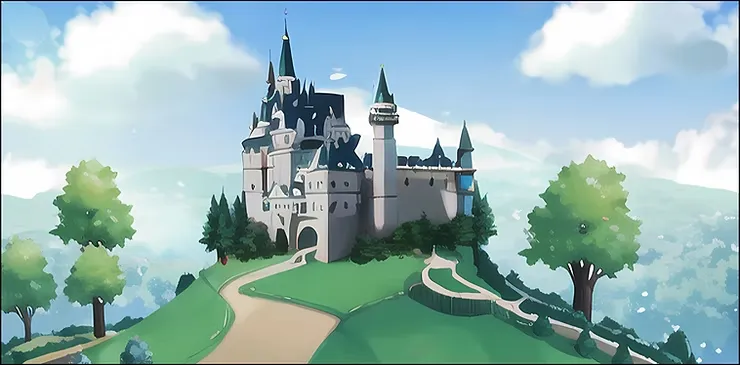
One of the most challenging aspects of creating an anime film is the backgrounds. I always found it difficult to draw complex landscapes, so this time I used artificial intelligence. I quickly sketched the general idea, then asked the AI to refine it, using what suited me best. While some might not consider this "drawing," I see it as a form of collaboration, especially since I didn't copy a pre-existing background; I added my own personal touch above all else.
First, I would quickly draw the background using a drawing program, then add it to the artificial intelligence websites available on the internet, and then several options would appear, from which I would choose the one closest to my drawing.
Someone might say that this is not official or that it is not fair to use a machine in our work, and I say in this regard that as long as websites and programs save us time, why not? I mean, I do not see the need to spend weeks or months in order to draw backgrounds accurately, when intelligence can do that in seconds.
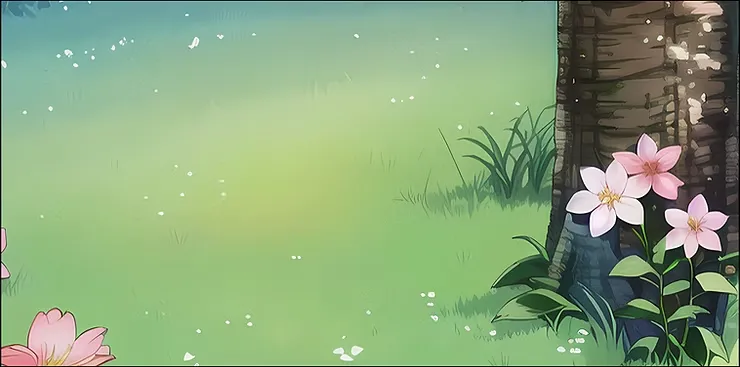
The second reason is that I did not bring a ready-made background from the internet and put it in the anime, but rather I added my touch and drew the picture before improving it. Here it can be said that I did indeed draw, but with the help of the machine, and this is not wrong in my opinion. I do not forget that I used it only for landscape scenes, while the backgrounds for the palace and castle were entirely my own design.
Using a ready-made background from Google will show the difference between your drawing and the background, and it will never look realistic.
Draw quickly and with minimal detail, and artificial intelligence will greatly improve it.
animation
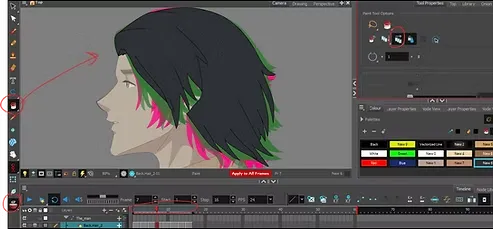
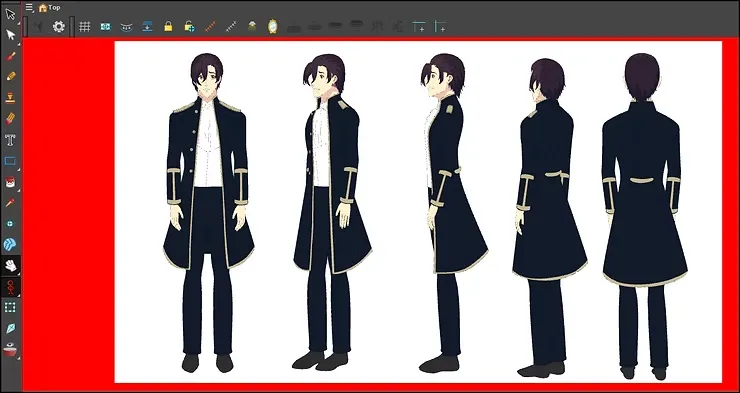
To create a successful anime film, animation plays a crucial role. I used the well-known "cut-out" technique, drawing each character's body on a separate layer and assembling the bones for movement. I then easily rotated and animated the characters. I drew the characters from multiple angles (front, side, back) to save time later, instead of redrawing each shot from scratch.
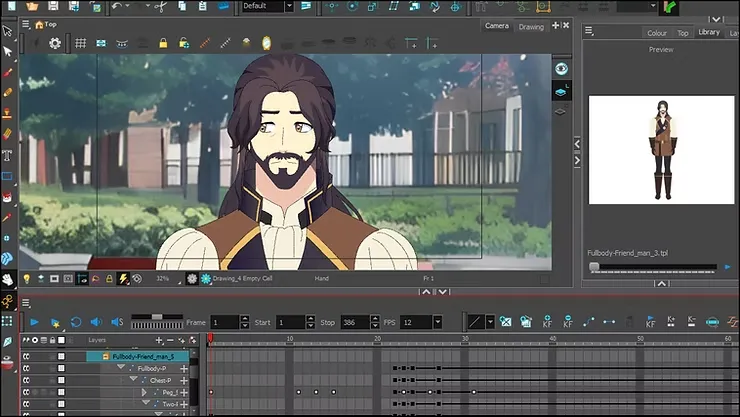
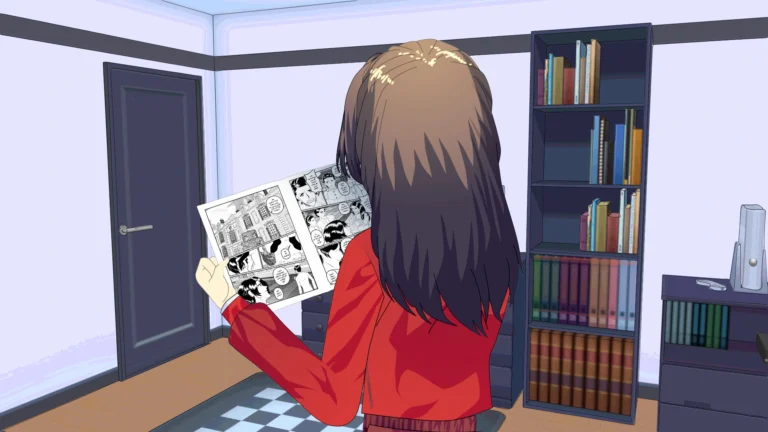
As you can see above, this is the prince’s friend, and on the right you see him in the library. I added him to the scene, put in the background and the voice of the voice actor, and started animating him directly. I didn’t need to draw him from the beginning, and this saved me a lot of time, and I started finishing animating many shots in one day.
Draw the characters from at least three views, such as front, side, and back, if you do not want to draw them from all sides.
Before and after
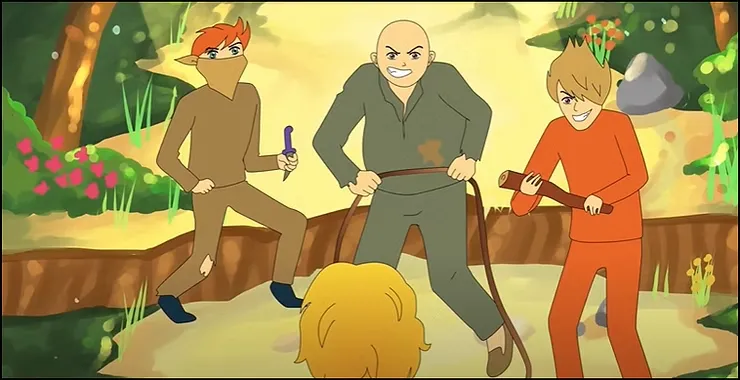
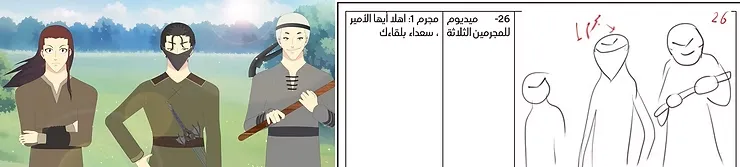
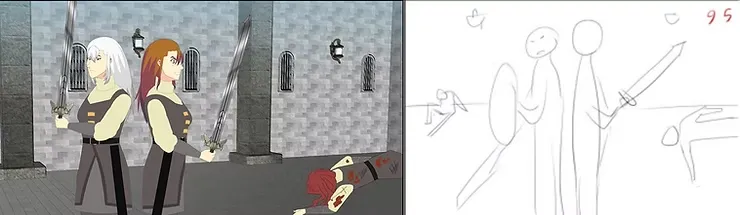
These images illustrate the difference between the beginning and the end of an anime film. On the right, you see the numbered, simple sketch, complete with dialogue and emotions, and on the left, the final result after coloring, inking, and animation. This demonstrates how good planning saves a lot of effort in the later stages.
Anime characters ready for download and animation in Toon Boom
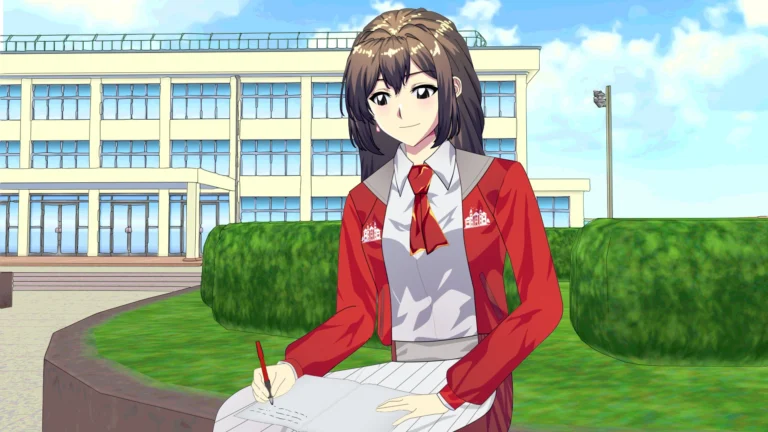
On the left you see the final result of drawing, inking and coloring, and then moving the desired person according to the scenario, with the background that appears in the scene. In the editing stage, I added the voice of the voice actors and sound effects, and thus the scene will be completed with us. .
Here you will see the dialogue of "the Prince," and I did this so that the voice actor could identify his lines from among the texts in the file. The required impressions are highlighted in red, whether in a tone of fear or joy…
Sometimes during the animation stage, I don't stick to what I wrote on the storyboard; I only change what I want if necessary.
Dubbing
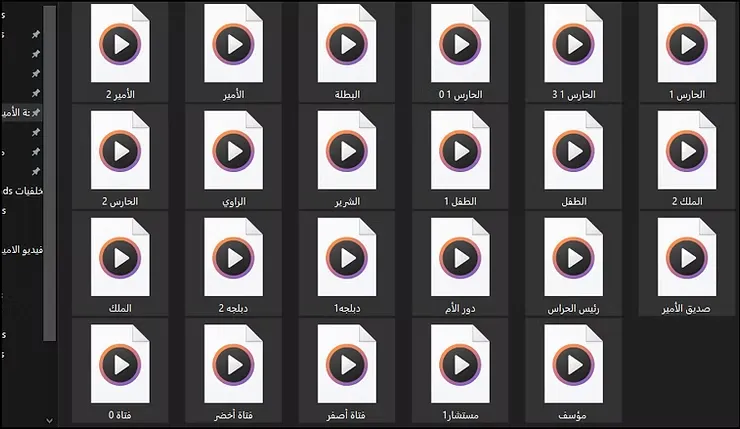
In this animation, I took a new step. Every time I try to make an anime film, I discover something new that makes the work easier later, which is dubbing before animation. This is something I have never done in any film before. I used to animate and finish all the scenes, and then send them to the dubbers. But the difficulty for the animator and the dubber when making an anime film was lip-syncing, or what is known as “lipsing.” This means that the dubber speaks when the character starts to speak, and stops at the same time. This is where the problem lay. Sometimes the phrase is longer or shorter than the movement of the character’s lips, and therefore the dubber may have to delete some words. Sometimes in some scenes, the lip-syncing is not in harmony with the movement of the speech.
Therefore, I found a solution that would make things easier for both parties, which is to send the storyboard, where he will see the character drawn in few details, and close to it the description of the scene, and the dialogue highlighted in yellow, to the appropriate voice actor. It is true that he will voice without seeing the video in front of his eyes, but as an animator, I will later be able to match the lip movements myself, where I draw the hero, for example, as he speaks as the voice actor speaks, and when the voice actor finishes speaking, I draw the hero’s mouth closed, and thus the lip-switching will be perfectly correct.
Most of the dubbing artists were truly creative, and they understood that they would be recording without video. It is true that some found it new, but they were able to perform as if they were watching the anime move.
Do you know why we might not be used to dubbing from a picture without video?
- Because we are used to taking Japanese anime and American cartoons and dubbing them while we watch the video, and this is what we have been accustomed to for years.
- Another reason is that we do not have an animation industry, so most of what is dubbed into Arabic is foreign-made.
- Abroad, dubbing usually takes place before animation. They are accustomed to dubbing before animation in order to match the lip movements, which are always precise.
Editing
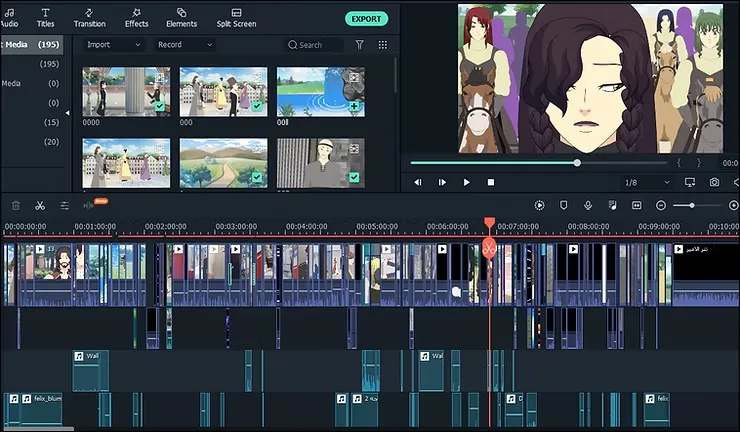
The editing phase was full of challenges. Every time we decide to make an anime film ourselves, we think the editing will be simple, but it often takes more time and effort than we expect. I added the sounds, effects, and animated backgrounds like the river and clouds—everything in detail. It made things easier for me because I had already prepared the audio files.
During the editing stage, I added some moving backgrounds to the scene, such as moving clouds or a river. What made the editing easier for me was that I had already added the dubbing of each character during the animation stage, so I did not need to add it to every shot during the editing stage.
Programs
- WordFor writing and scheduling texts
- Ton Boom HarmonyTo move the characters
- After EffectsFor visual effects and background animation
- Clip Studio PaintFor drawing backgrounds and sketches
- AudacityTo edit the audio
- FilmoraTo edit the final video
Watch the full movie here: https://youtu.be/fjM3J8JpT5k