Hello my dear friends, today I will explain to you how Drawing anime hair With a professional style and an easy method you can immediately apply to your drawings. Drawing anime hair is one of the most beautiful aspects of drawing anime characters, as it adds to the beauty of female characters when drawn correctly. So today, we will learn together, you and I, how to draw hair and how to color it, all with pictures and videos to make learning easier.
First, preparing the personality
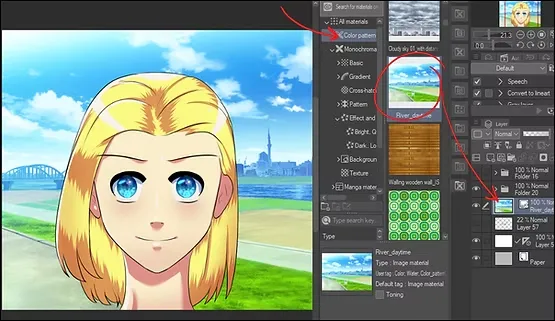
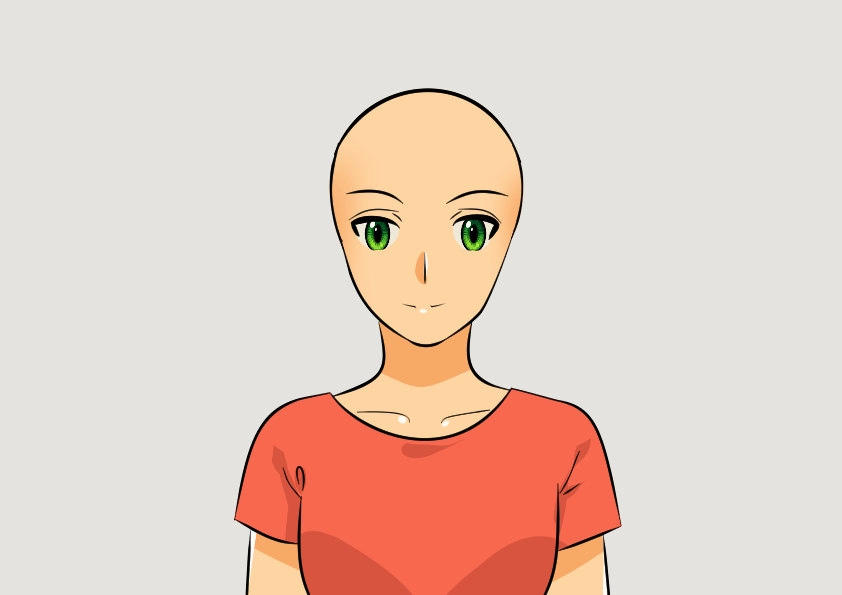
First step before starting Drawing anime hairThe first step is to prepare the character of the girl whose hair we will be drawing. Here she is; I drew and colored her before the lesson began, using Clip Studio software.
Second: We plan the hair
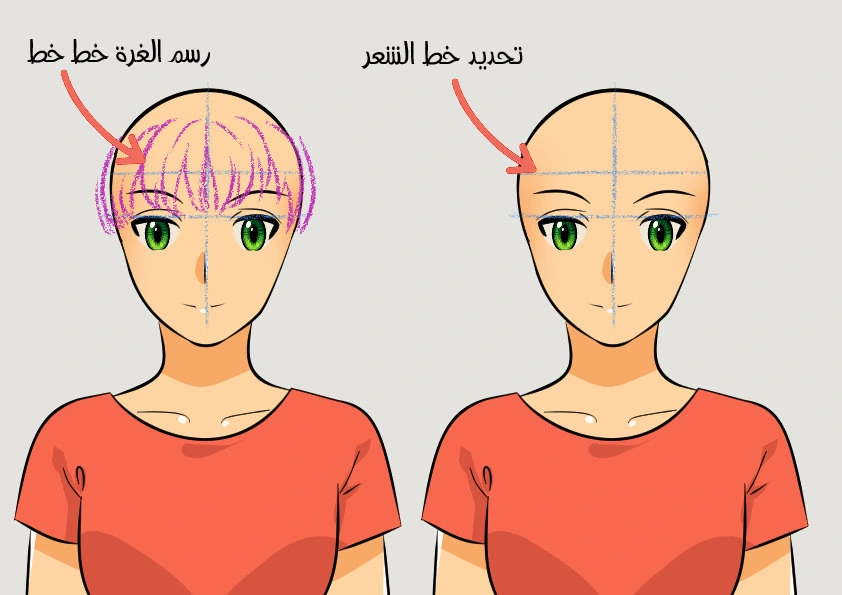
We begin by drawing the basic lines as follows:
- We add a new layer from the Layers menu.
- We choose a light blue color.
- We draw two horizontal lines to mark the starting point of the hair.
- We draw a line in the middle to make it easier for us to divide the hair into two sections if we want to.
The initial form of hair
In the image on the right, we can see the guidelines we drew, which are essential for achieving accurate proportions. On the left, we can see the fringe after we sketched it as an adjustable outline.
Thirdly, draw the back section of the hair.
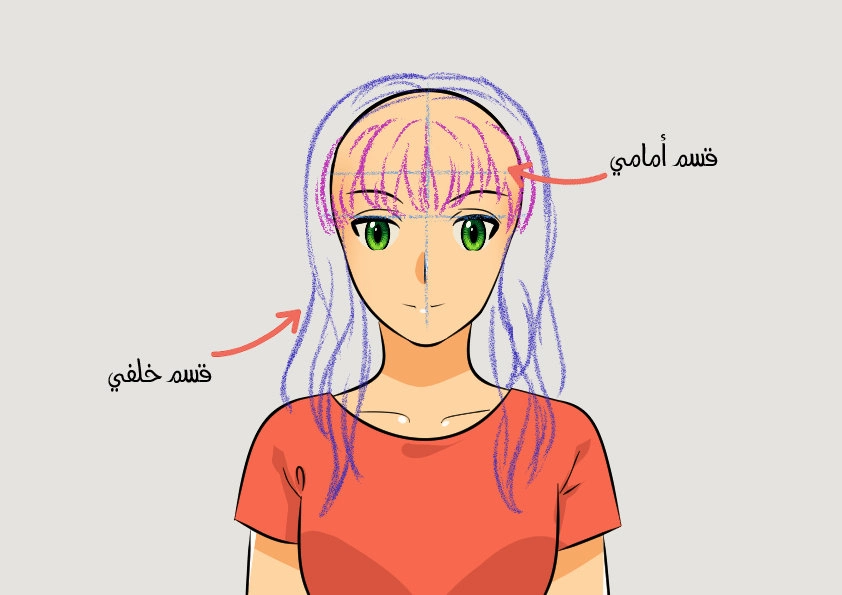
We draw using the same technique as before, but this time we make sure the strands are longer. Steps:
- We start from outside the head (to achieve hair density).
- We draw successive curved lines.
- We draw one strand at a time in a slightly curved shape.
Front and back sections of hair
When drawing an anime character with bangs, the hair should be divided into two sections. The bangs are at the front and may cover the upper part of the eye depending on their length. The rest of the hair is at the back.
We can also add some front strands so that they fall down to the shoulders.
My online store has everything you need as artists
Fourth, inking anime hair
After finishing drawing the hair, we now begin inking:
- We choose the color black.
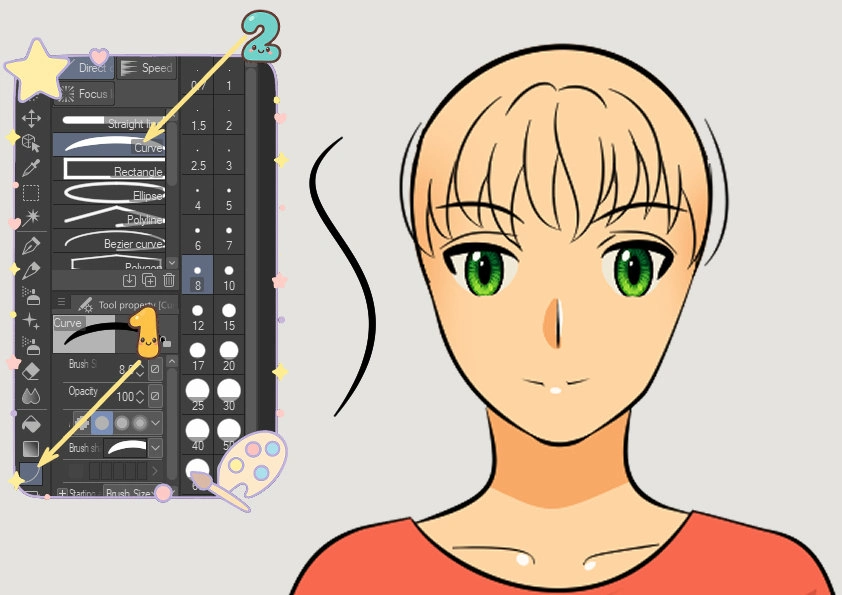
- We use the Pen Tool or the Curve Tool from the sidebar.
- We start from the center of the forehead and draw the hairline downwards according to the desired length.
- We bend the line slightly at the end to get gentle waves.
Ink tool
The inking tool in Clip Studio is the “G-Pen,” located within the pen tools in the sidebar. Its settings can be adjusted from the properties window to suit the details of the hair.
Fifth, dyeing the back section of the hair
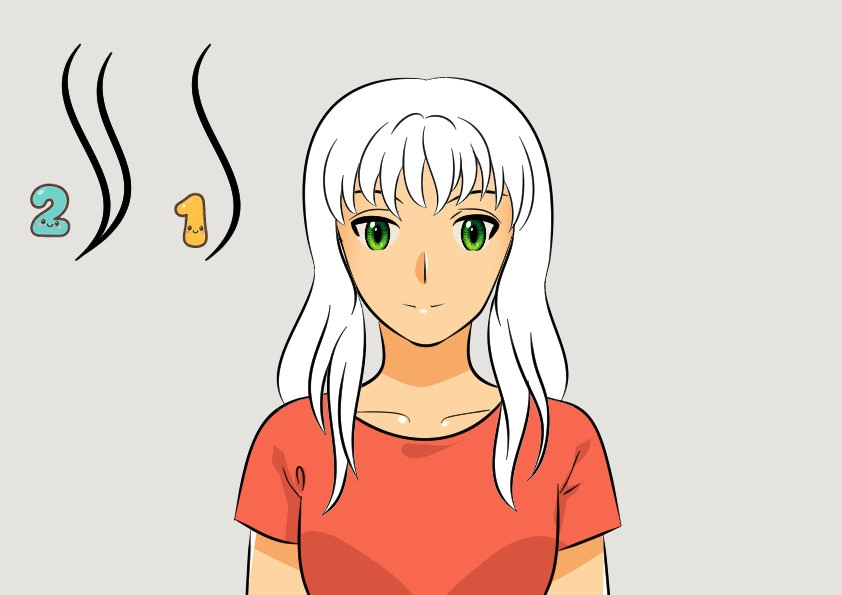
We apply everything mentioned above in the inking process here as well. It is the same process, but all we have to do is make the hair longer, and this is easy by following the guidelines.
How to draw hair strands
We repeat the same inking steps in the back section, making the strands longer, according to the guidelines.
Sixth, coloring
Open a new layer below the ink layer, and use the Fill Tool (Refer Other Layers) to fill in the closed areas. Then move on to the shadows:
To add shading:
- We add a new layer.
- We use the Airbrush tool (Airbrush > Soft).
- We choose a shade darker than the base color.
- We apply shadows to the strands according to the direction of the light.
To add shine:
- We add a new layer.
- We use a light color (white or yellow).
- We select the Airbrush tool > Highlight.
- We draw the shine on the top of the hair and some of the inner parts.
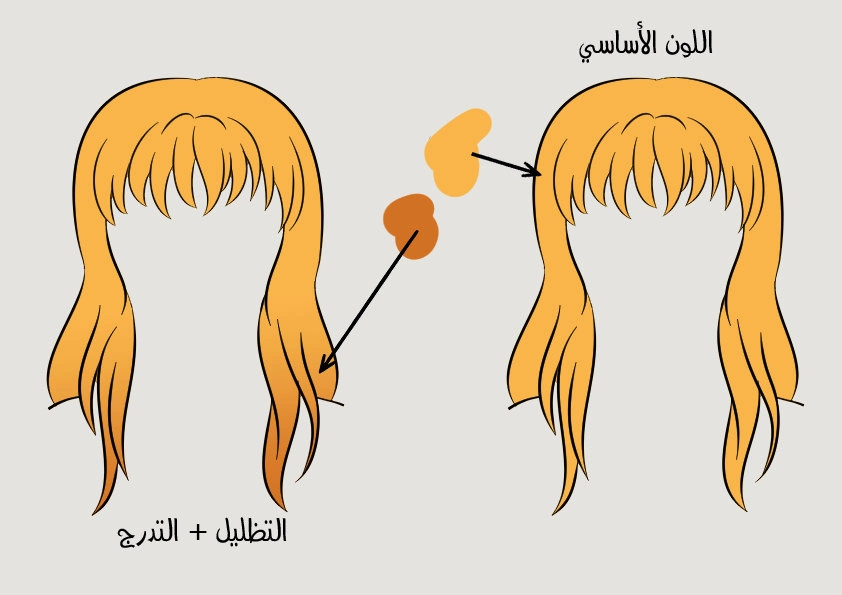
A look at the colors used
These are the colors used in the coloring process:
- Basic color: Blonde.
- Shading color: light brown.
- Gradient shading color: light brown
Note: We used the same shading color at the ends of the hair with a smooth gradient.
Important notes while drawing anime hair
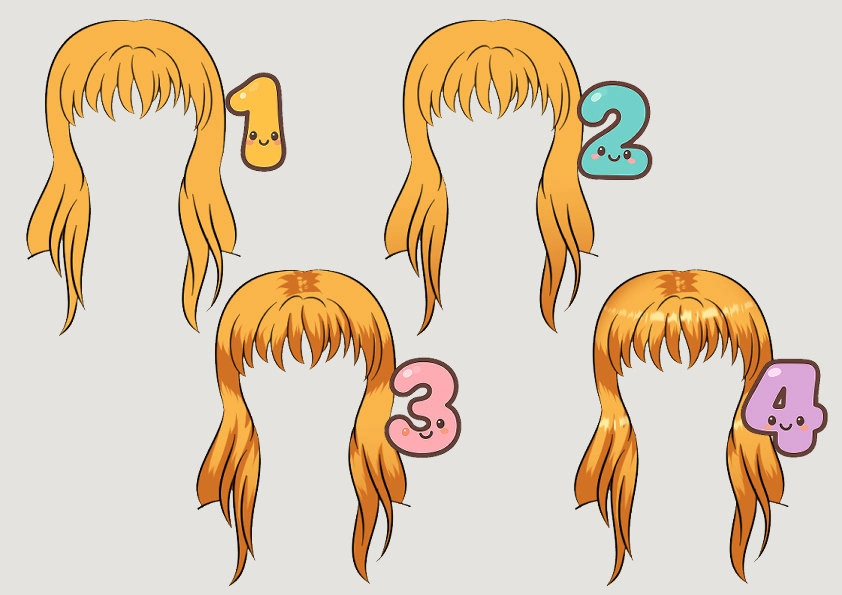
This is an illustration of the coloring process:
- The primary color.
- Gradual progression.
- Shading.
- Lighting.
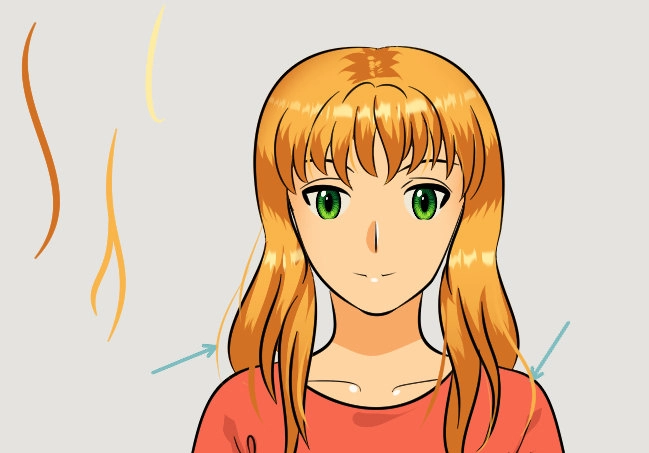
Extra strands
Note: In the picture, we notice that the hair strands fly in different directions to look natural and lively, which is very important when drawing anime hair.
I mastered the art of coloring anime hair in my own unique and easy way.
Lesson Summary
- A small gap should be left between the scalp and the hairline to show hair density, as the hair does not stick directly to the head. This observation is very important for creating the illusion of fullness. Drawing anime hair It looks natural.
- When drawing long hair, make the strands flow towards gravity or fly gently to show movement and softness.
- Make sure to vary the thickness of the lines when inking so that the hair looks beautiful.
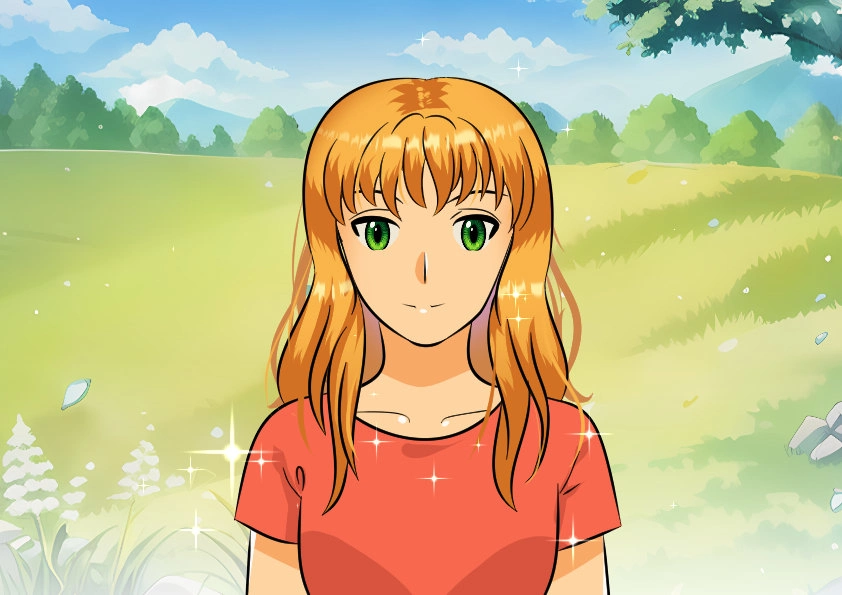
Final result
By drawing long hair using these steps, you will be able to Drawing anime hair Create beautifully and neatly, adding your own personal touch to your characters. The experience will be enjoyable, from drawing the lines to seeing the final result.
I hope this explanation has been helpful and has added a new step to your journey of learning to draw in the beautiful anime style. Keep practicing and share your work, and stay tuned for the next lesson with new techniques and tools to help you develop your skills. May God protect you.