Hello my friends, in this lesson I explain how to draw a tree in the style of Japanese anime, using a single brush, without needing to change tools. The result will be impressive and beautiful, so I advise you to review the method. By the way, you do not necessarily have to use the same drawing program that I use in these lessons, but you can apply the same method with Clip Studio. .
My online store has everything you need as artists
These steps are suitable for those who draw on a computer, tablet, or even a mobile phone, as long as the application you are using allows you to use ready-made brushes for drawing, so that you save yourselves effort and time, because drawing leaves of trees leaf by leaf is tiring and consumes a lot of time.
First step
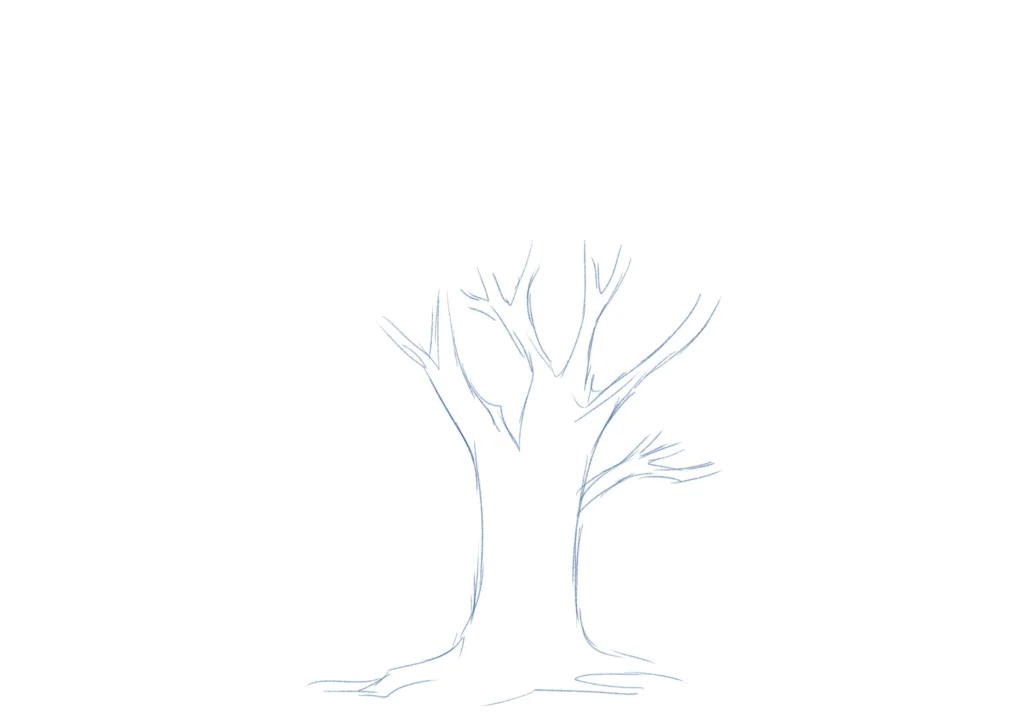
We start by quickly drawing the trunk or base of the tree from the bottom up, adding its ends in a spaced and inconsistent manner, and you can also add a hand to the tree.
It is important that we draw in a diluted blue color, because this will only be the sketch.
Step two
Next, we draw the leaves in a circular shape and in several different sizes, to get a shape closer to nature, so that the leaves in the back are larger and we make them smaller as they are in the front.
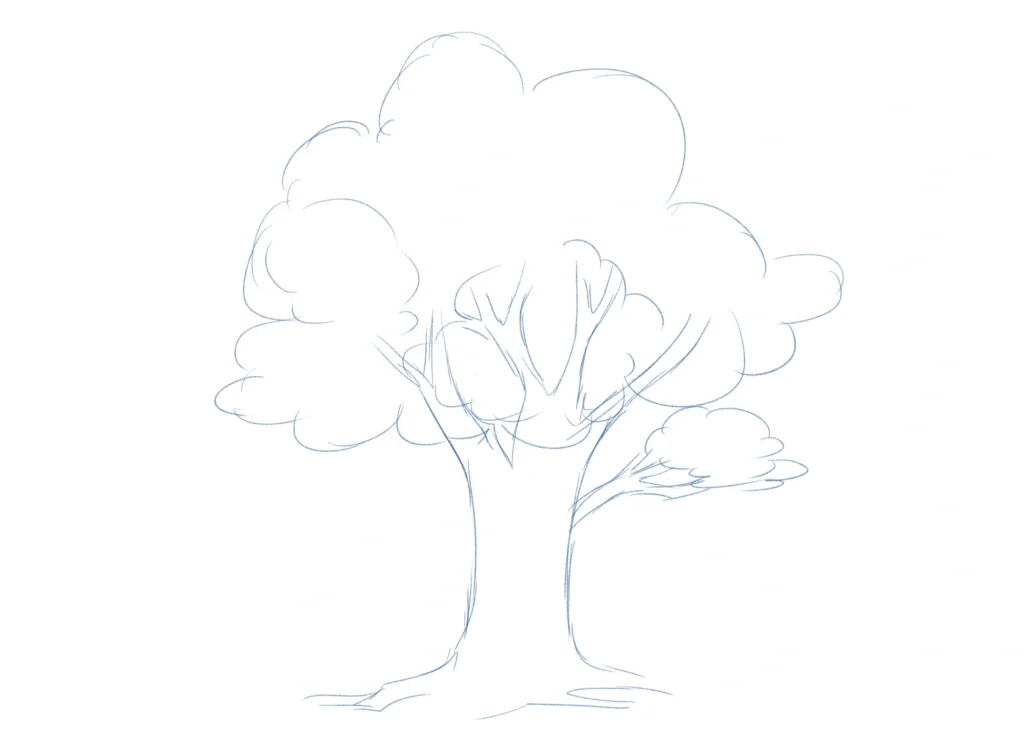
Step three
Now we move directly to the coloring stage, without going through the inking stage, since anime trees are generally not inked.
- We add a new layer.
- We choose a brown color from the color wheel.
- We select the pen tool and begin drawing.
We draw the tree trunk first, although you can do this step later after drawing the tree leaves, but I prefer this step so that we know where to go when we draw the tree leaves later.
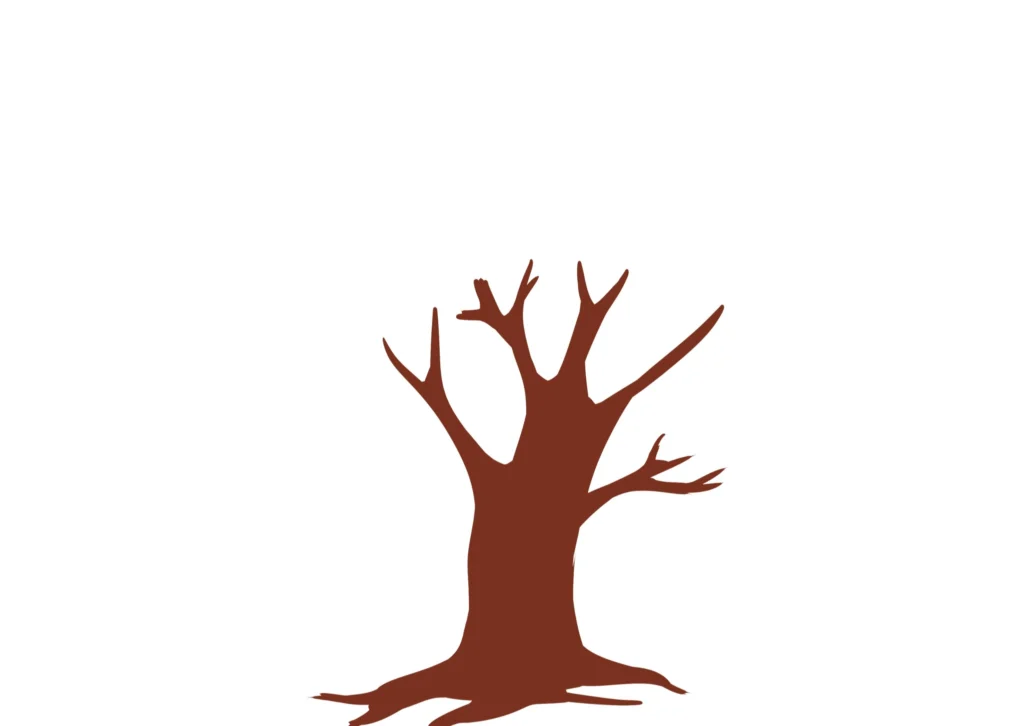
Step four
- We add another layer behind the trunk layer.
- We choose a crimson color, i.e., a blue-green color.
- We select a leaf brush.
- We start drawing randomly to get a natural shape.
The ”blue-green” layer is what will be the shadow of the leaves, not the actual leaves yet.
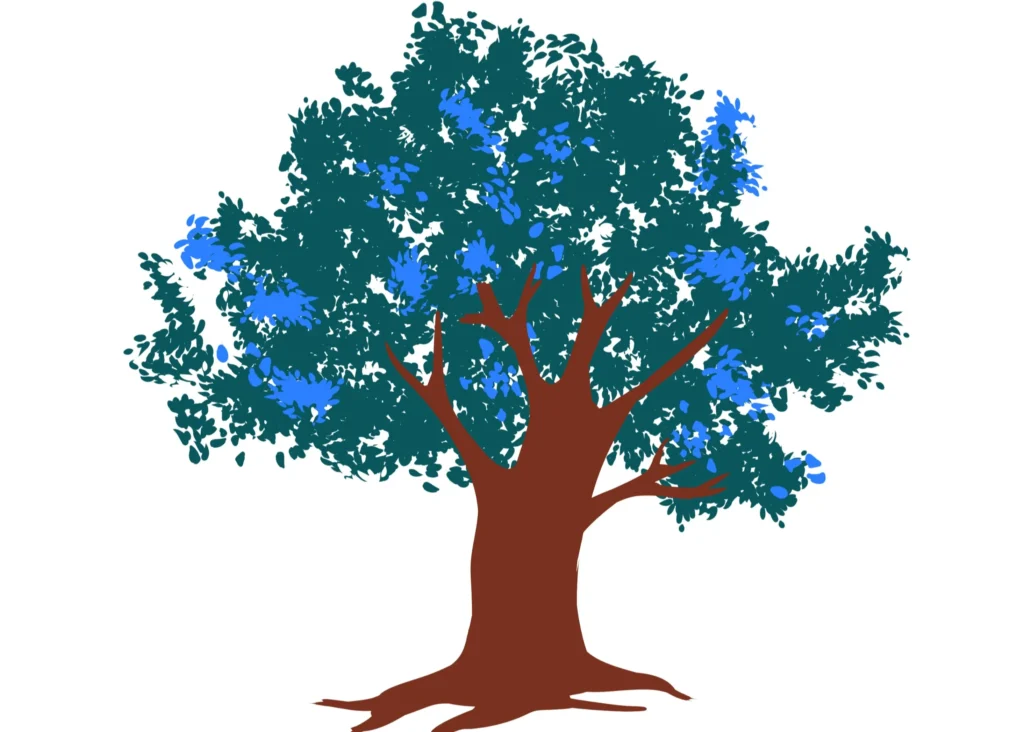
Step five
- We add another new layer in front of the tree trunk.
- We select the shade of green that you want.
- We keep the brush with the leaves and begin to paint.
We should draw randomly, as long as we use a ready-made brush, otherwise the tree will not look natural, and we should not forget to leave some gaps. .
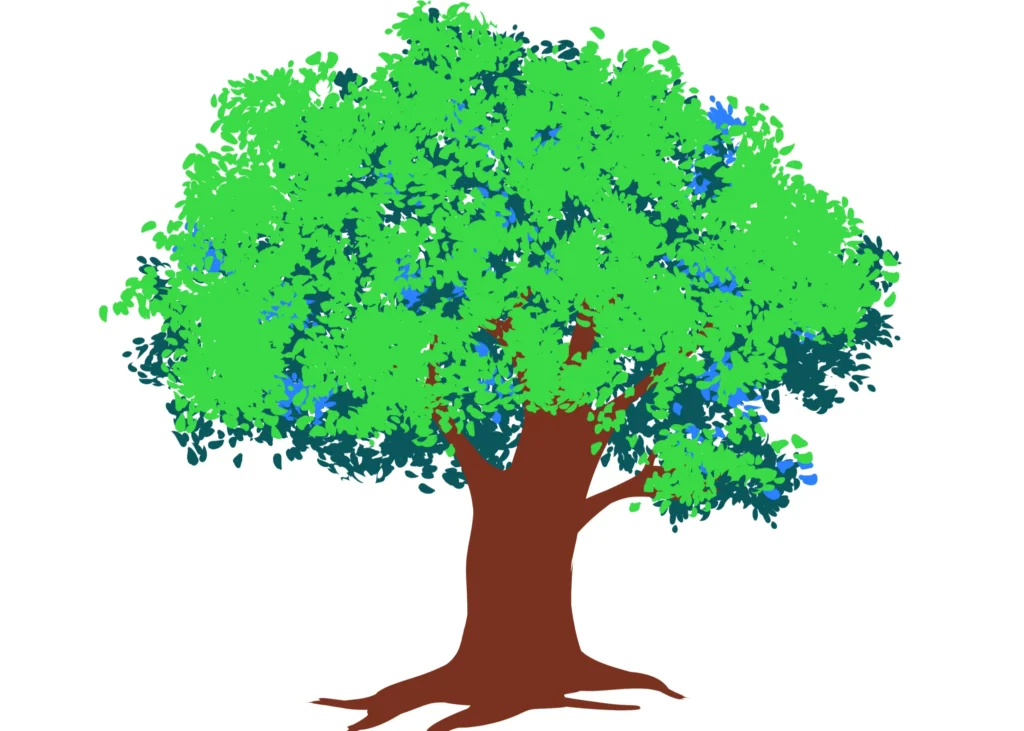
Step six
Here we add another layer and repeat the same previous process, drawing more leaves on it, but in different colors, once in light green, then yellow, and a little orange here and there.
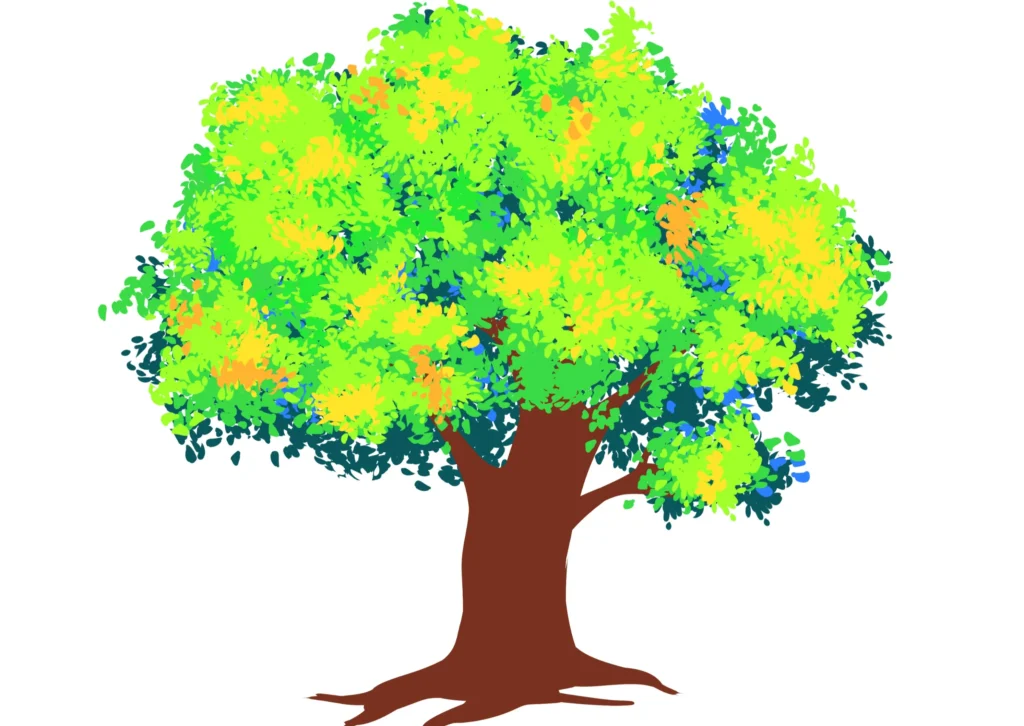
Step seven
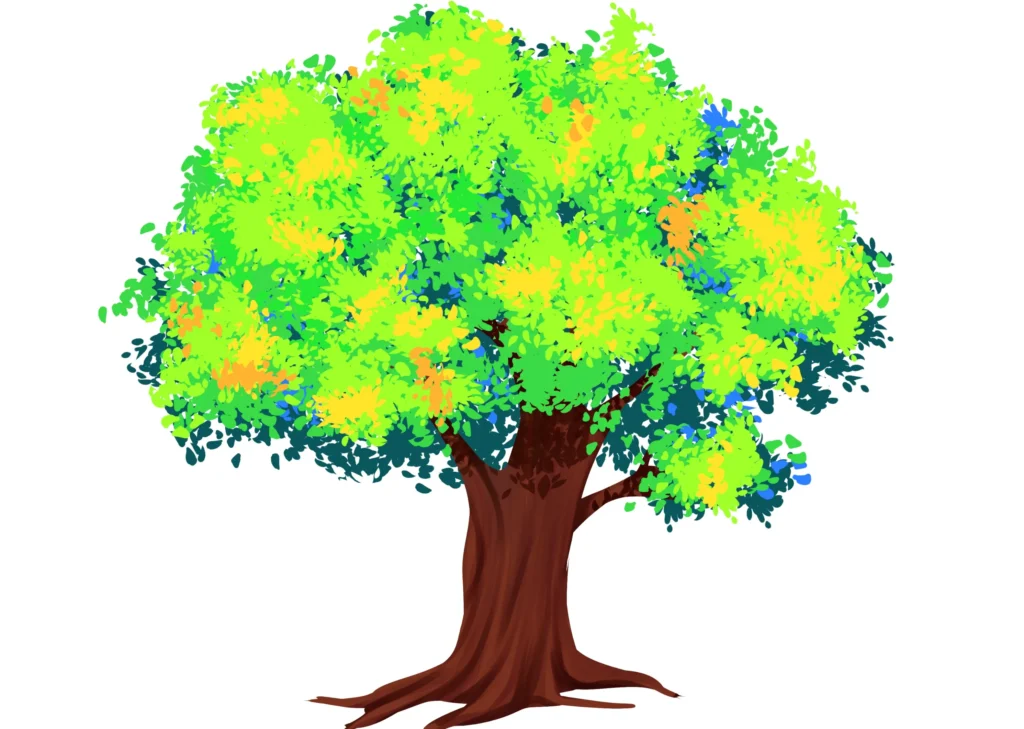
When we finish adding the leaves of the anime tree, we move on to the trunk and shade it. Notice that I added a shadow that matches the leaves. This is because I used the same brush that I drew with, in order to add the shadow so that it is close to the shape of the leaves of the tree itself.
Final result
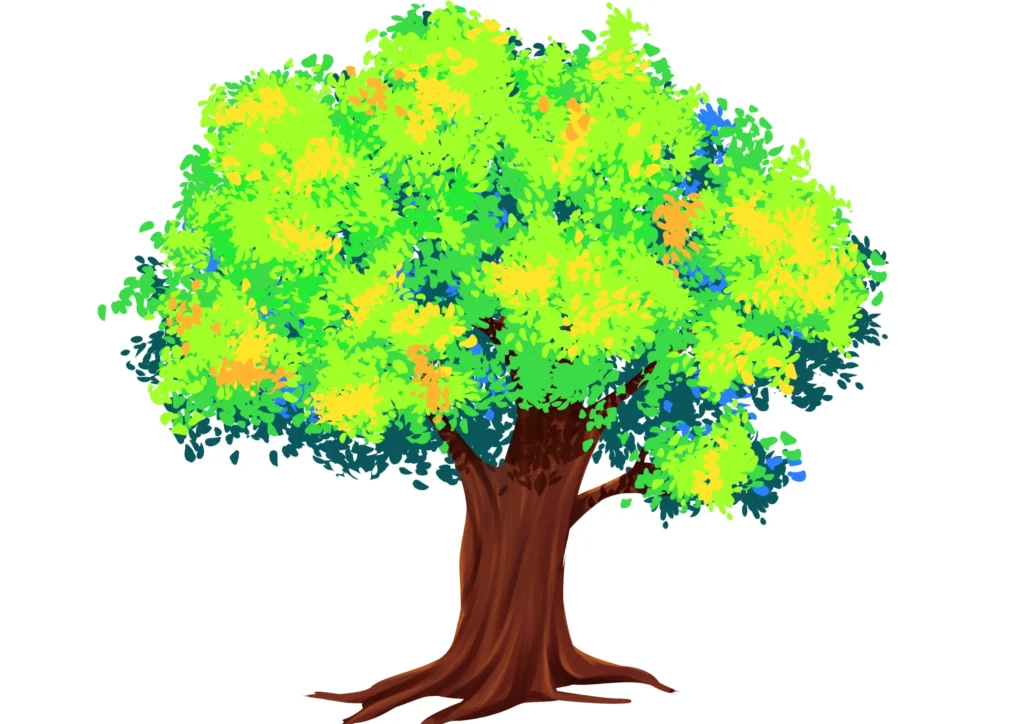
Here we conclude by adding a simple light to the leg so that we get a natural look similar to Japanese anime.
We're done! Look how wonderful the tree looks. We drew it with minimal effort, just using one brush for all the leaves. And the end is as you see now.
How to draw anime tree branches with a ready-made branch brush
And with this, today’s lesson has ended. It is a very important lesson, because we sometimes need to draw trees in anime scenes, whether it is a regular drawing, a cover, a manga, or even a webtoon. You will undoubtedly like my method.
Follow my steps exactly as I have described them, and you will find it easier to draw trees than ever before. If you encounter a problem at any stage, watch the lesson again, and you will understand the step well.
By the way, after you finish drawing the various trees, you can keep them in the library for use in your future projects, without needing to draw them again. The program's studio clip allows you to do this, or simply export the tree in a format. PNG So that it is ready and stored with you.
Thank you for reading the lesson carefully. I hope to meet you in future lessons. Stay tuned, and I will see you soon, God willing.