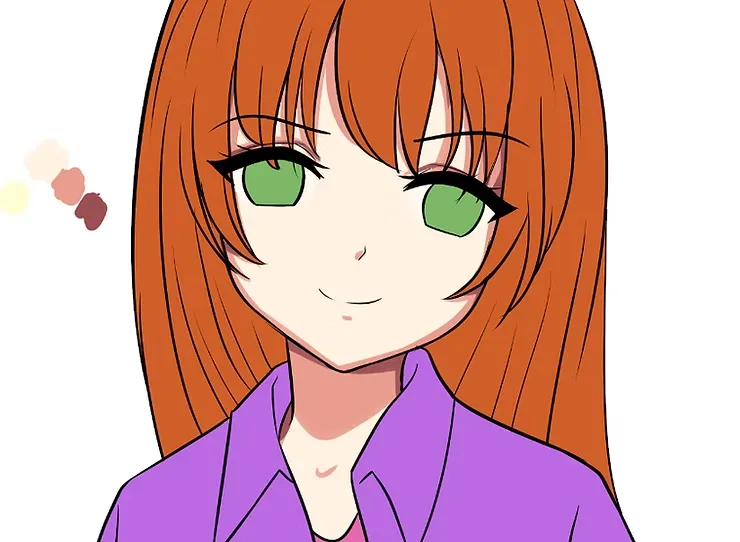
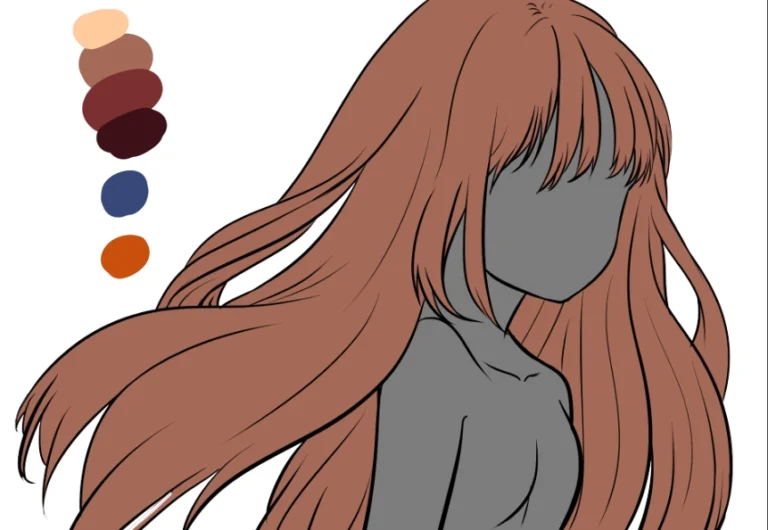
Welcome back! Today in this lesson, we'll learn how to color dark skin tones using my unique style, which I often employ in anime drawings. Since most anime characters have fair skin, and many people don't pay enough attention to dark skin, I've come up with a solution. I'll be using a program... Clip Studio Paint Clip Studio Paint On the computer, go ahead and follow along with me!
First step
We must first start by coloring the face with the base color, before delving into shading:
- We add New layer New Raster Layer.
- We determine Filling tool Fill Tool (G).
- We choose a dark shade of Color wheel Color Wheel.
- We color the entire face with the base color, as well as any visible part of the body.

Step two
We will now begin the process of shading the face:
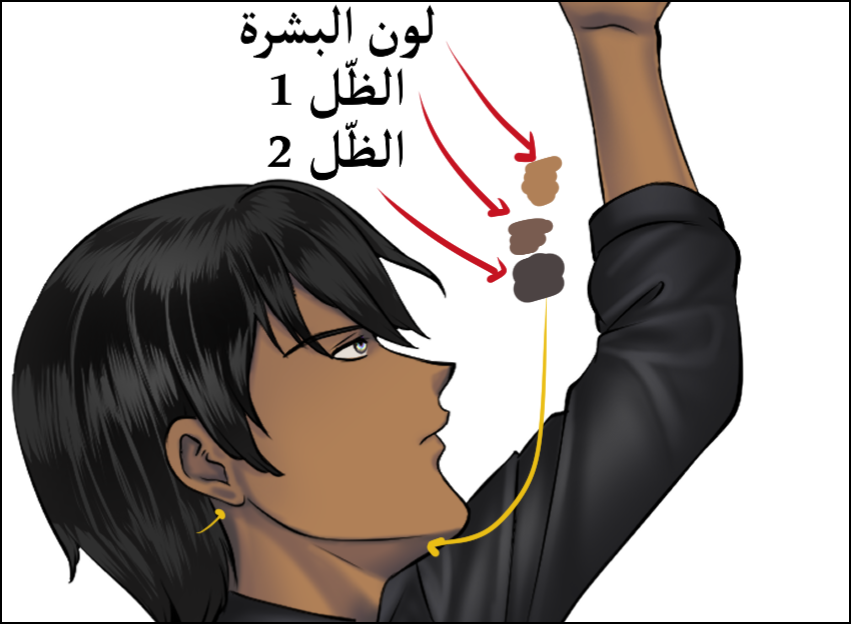
- from Color wheel Color Wheel We choose a darker shade.
- We add New layer New Raster Layer Designed for shade.
- We choose pen tool Pen Tool (P) From the list.
- We shade in the areas we choose, such as the bottom of the face.
- We determine camouflage tool Blend Tool (J)We camouflage the color slightly to give it some softness.
- We add a new layer and shade it with a darker color than the first shade.
Coloring with a darker color is an optional step, and you can stick to basic shading, but it will greatly improve the drawing, so I advise you not to ignore it.
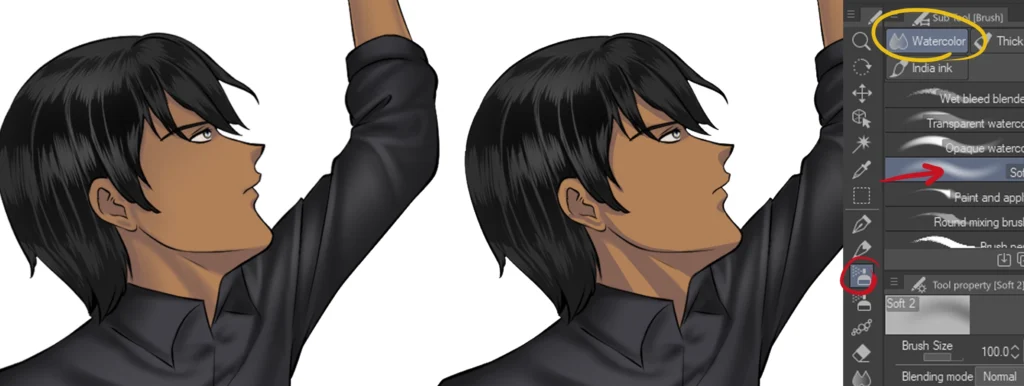
A look at where we've arrived
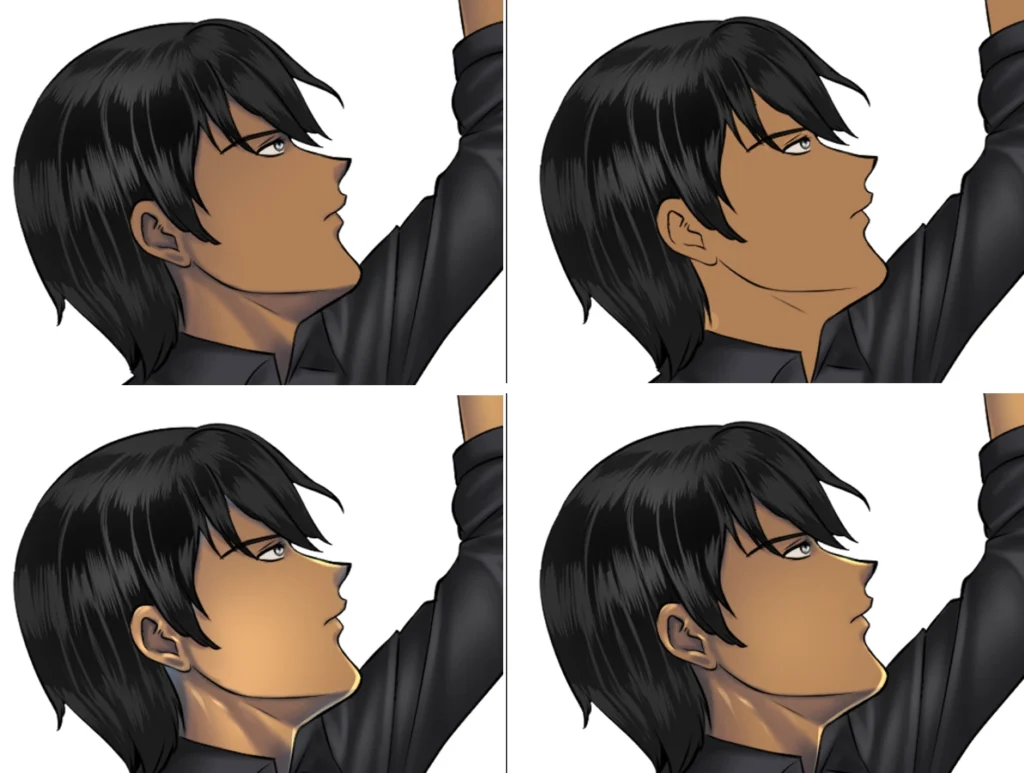
Notice with me in the picture that I put for you below, the young man, and we colored his face with the skin tone, and then we added the main shadow, and after that we added a new layer, and colored with a darker color, to get a second shading.
Step three
Now we come to the stage of adding light and shine to the face:
- We add New layer New Raster Layer.
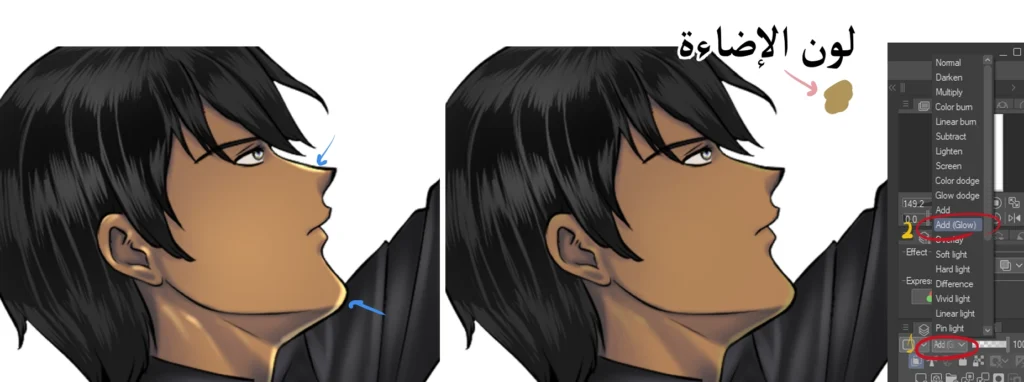
- We choose a color lighter than the basic skin tone.
- We determine pen tool Pen Tool (P).
- We draw the lighting on the edges of the character's face, such as the nose, chin, and neck, to make them stand out more.
- We determine Airbrush Tool (B).
Do not overdo the addition of lighting to the face, as it is intended for specific areas only, i.e., the protruding areas such as the tip of the nose, above the eyelid, the cheeks, and also the chin.
Optional step
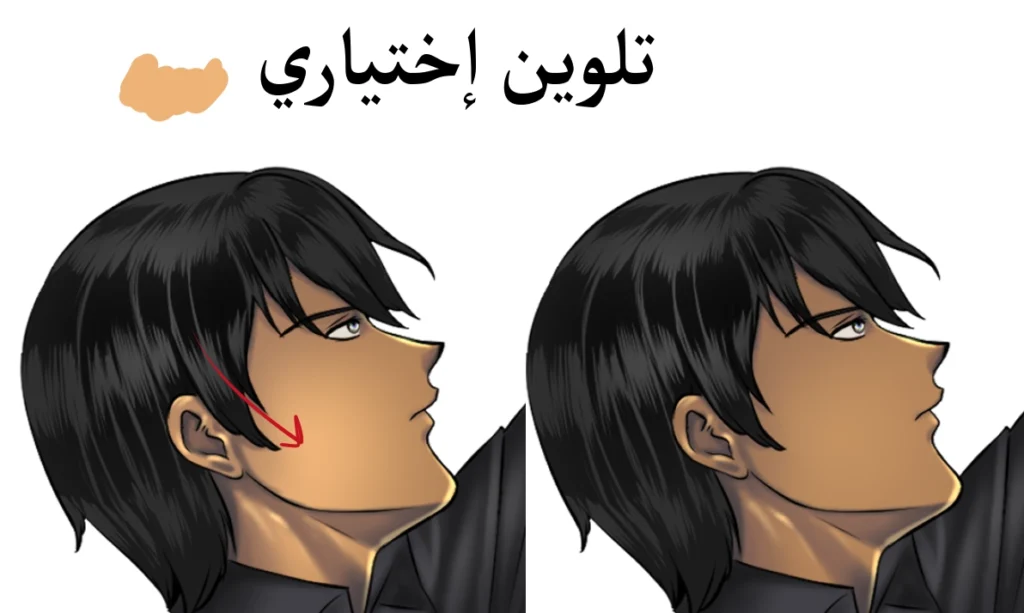
Here we can add a soft, subtle highlight to the cheek to accentuate it further, through Airbrush Tool (B).
Learn how to color anime skin with a detailed explanation for beginners
Step four
This is an optional step, but it will add more flair to your drawing: the blue shading.
- We add New layer.
- from Color wheel Color Wheel We choose a dark blue color.
- We determine Airbrush tool Airbrush Tool (B).
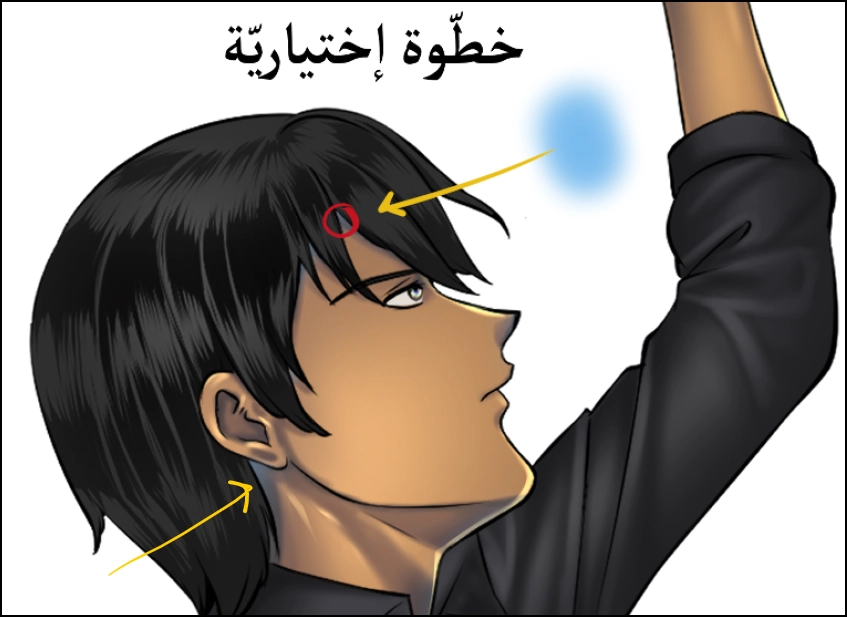
- We only color under the bangs, i.e., at the forehead of the anime character, and behind the neck.
This means we will add blue shading to the shaded interior areas, and this will greatly enhance and improve the coloring.
A look at where we've arrived
Here in the image below, you can see the steps we went through during today's lesson, which were:
- Add the base color to the skin in a separate layer.
- Move on to the step of adding the first basic shading in a new layer.
- Add a second, darker shade as well in a new layer.
- Adding lighting.
- And finish it by coloring it with a light blue color.
It is essential to add a new layer whenever you want to add a new color or another shading, so that if you make a mistake, you can later erase the layer without affecting the rest of the drawing.
Final result
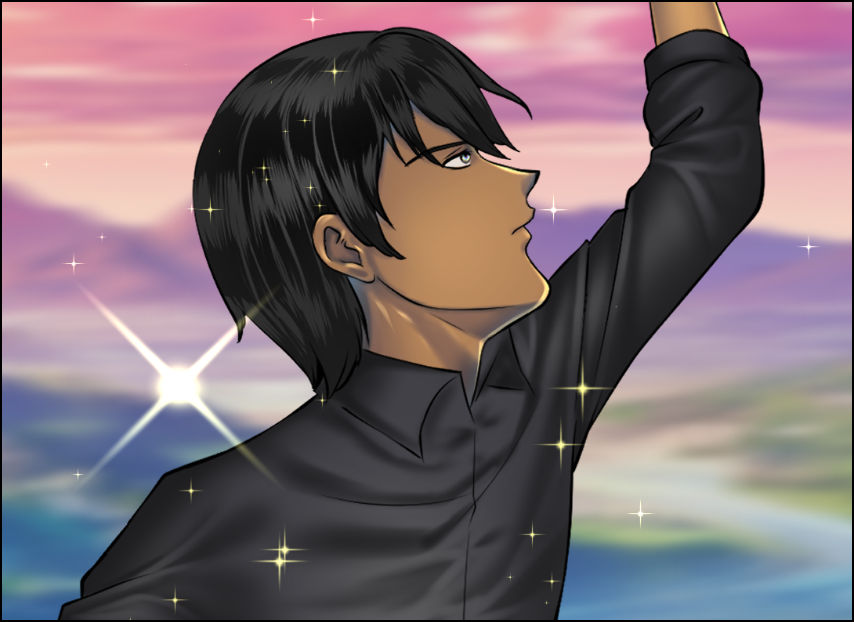
Here is the final picture in front of you, after we colored the dark skin of the anime character. Notice with me the harmony of the colors with each other, whether it is the skin, the hair, or even the shirt. I explained in several lessons how to color the clothes and hair with the same result shown in front of you, and I concluded it by adding glitter around the character.
The character in front of us is from the anime series I animated, titled “The Fire”We've uploaded all six episodes to my channel. You can watch the entire anime and enjoy it; it's truly beautiful and entertaining, especially for children and families. The complete episodes are from Here
That concludes my tutorial on coloring dark skin using my unique technique, and you'll truly love the result. Follow my steps exactly, and feel free to watch the tutorial more than once to fully understand how to do it.
By the way, you can apply these steps on a computer or any drawing application on your phone, whether Android or Apple iOS.
Thank you for following the lesson, and I will see you in other lessons, God willing.