Today, my friends, we will learn how to draw an anime character. I always follow this method when I want to draw an anime character quickly, with a guaranteed result and suitable quality for my projects. All you have to do is bring a pen and a notebook and follow the steps with me step by step until you get a perfect anime character that you can use in manga or your personal work.
My online store has everything you need as artists
First step
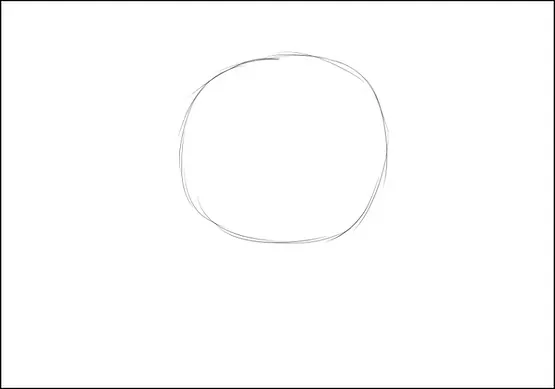
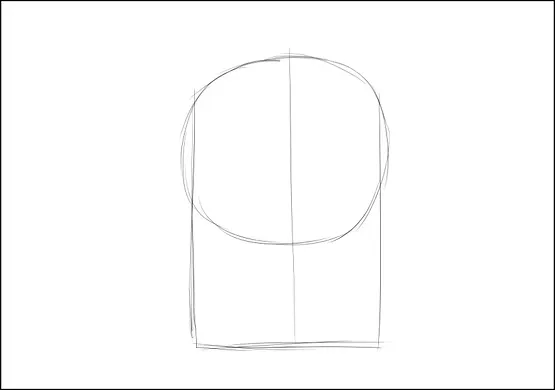
We begin drawing an anime character by drawing a circle using a pen. It doesn't have to be perfect; the important thing is to draw a circle that makes it easier for us to determine the location of the head. It is just a helpful guide.
Step two
Next, we draw three vertical lines, one on each side and one in the middle to divide the face in half and ensure balanced features.
Next, we draw a horizontal line at the bottom of the circle to determine the location of the chin and the shape of the lower face.
Step three
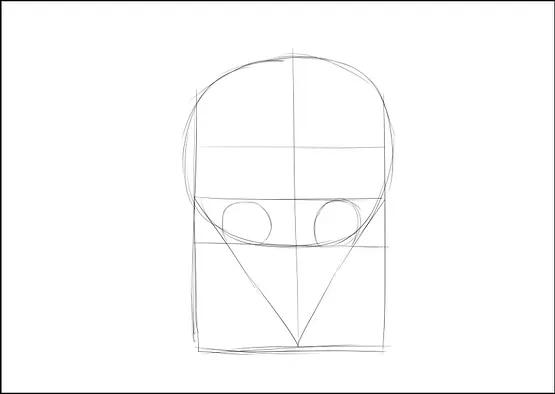
Next, we add three horizontal lines inside the circle, which we will use when drawing the eyes and ears to adjust their position correctly to ensure the consistency of the anime character drawing.
Step four
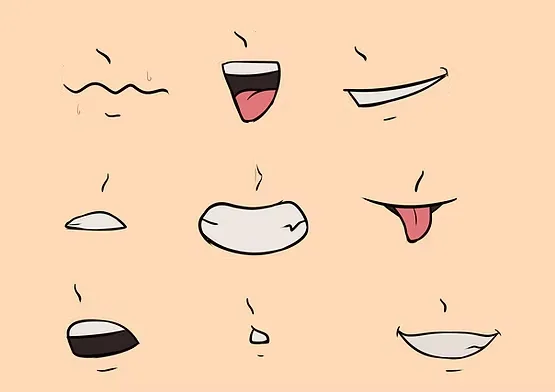
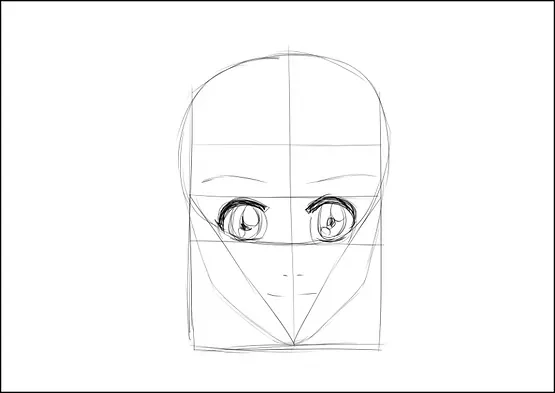
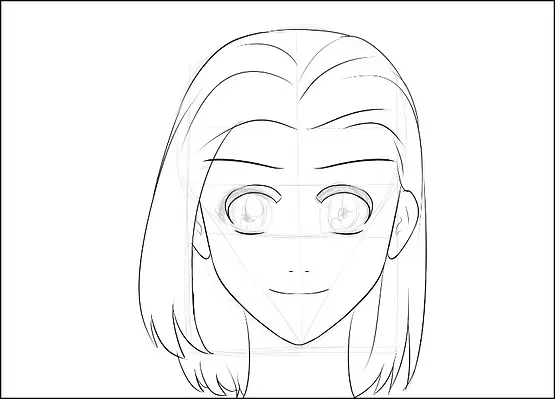
We now begin to draw the full features of the character, where we draw the eyes wide as in the anime style, with the mouth and nose drawn with simple lines, and we determine the location of the eyebrows and ears based on the previous auxiliary lines.
Step five
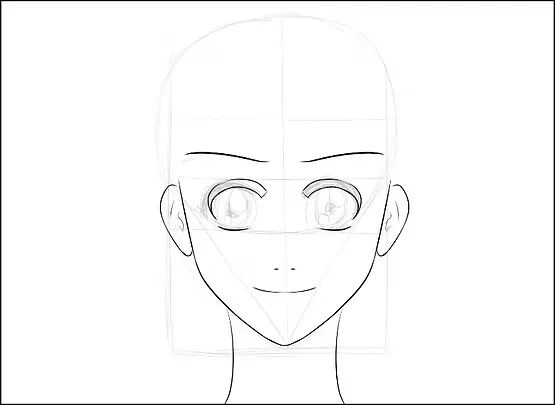
After completing the sketch, we move on to the inking stage, where we add a new layer and start using the black pen to ink the important lines while removing the helper layer so that the drawing becomes clean and ready for coloring.
Step six
Now we move on to the step of drawing the hair, and we start from the top line that separates the face at the top at the hairline, and from there we draw the strands of hair in multiple directions, right and left, to add movement and softness to the appearance of the hair.
Step seven
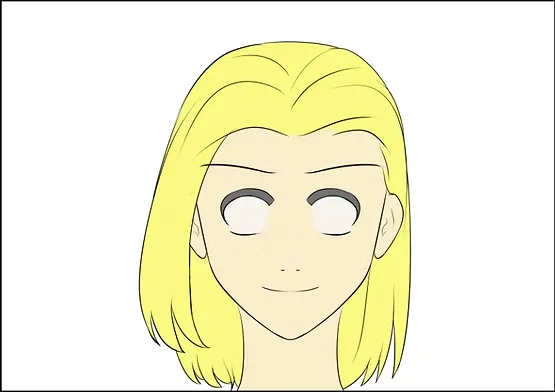
Now we reach a fun stage in drawing an anime character: coloring. You have complete freedom to choose the hair and skin color. Here, I chose blonde for the hair and a light beige for the skin to give the face a soft look. We'll add eye color after defining the pupils.
A look at the options
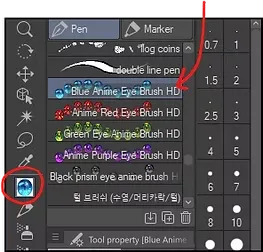
From the program's left-hand menu, you'll find a set of tools containing numerous brushes and accessories ready for use in drawing anime characters. From there, you can choose the pupil shape you want to add to the eye or upload a pre-made pupil from the program's add-ons library if one isn't already included.
Steps to draw an anime boy, from sketching to coloring
Step eight
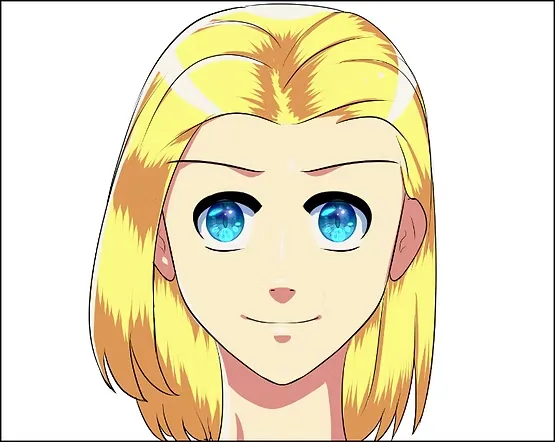
We move on to the shading step where we choose a color that is one or two shades darker than the hair or skin color and begin drawing and filling in the shadow lines to define the shadow locations in the drawing. This step adds more beauty and detail to the anime girl drawing.
Next, we add shine, which is a distinctive feature in most anime characters. We use a matte white color and add it to the hair parts at the top, so that the light hits the hair and gives it an attractive shine.
Step nine
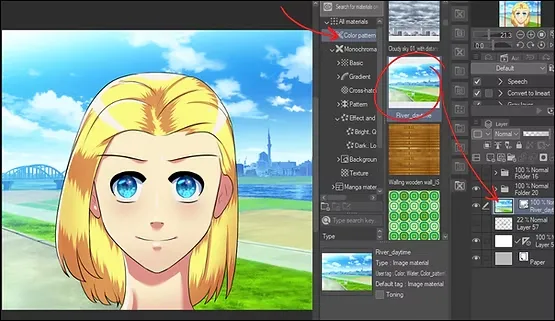
Our final step in drawing an anime character is adding the background, which will make the drawing ready for use in showcasing your work or posting it on social media.
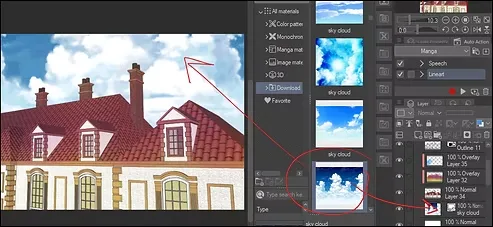
Go to the right-hand menu, then open the ready-made background library, which contains a large number of diverse backgrounds. Choose the image you want to suit your character's scene. After selecting the background, drag it to a new layer and make sure it's below the character's drawing layer so the character appears clearly in the foreground.
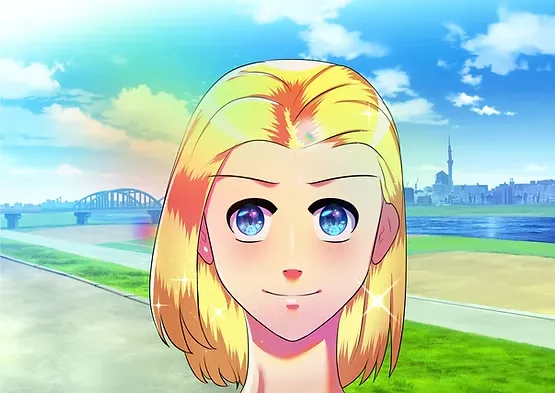
Final result
This is the final result, where we obtained a complete anime character drawing in simple and quick steps and quality suitable for your manga or anime projects, without wasting much time, with a ready-made background as well.
This concludes today's lesson on drawing an anime character quickly and easily without complications and with a guaranteed result. I hope you practice the steps well and try again and again in order to reach the desired result, as many may encounter problems on the first try.
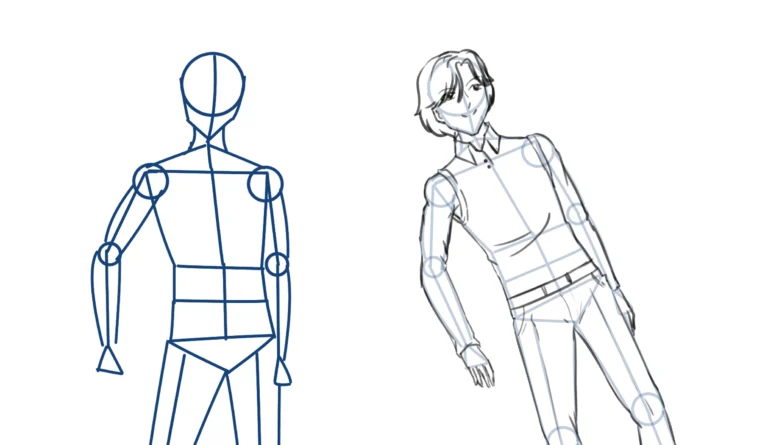
And I must not forget to invite you to continue browsing the rest of the lessons on my website, because they are interconnected. There are drawing lessons that talk about drawing the body, and others about drawing the hand, and we must not forget the lessons on drawing legs, because I wanted to cover all the lessons from all the topics.
Thank you for following the lesson, and I will see you again, God willing.