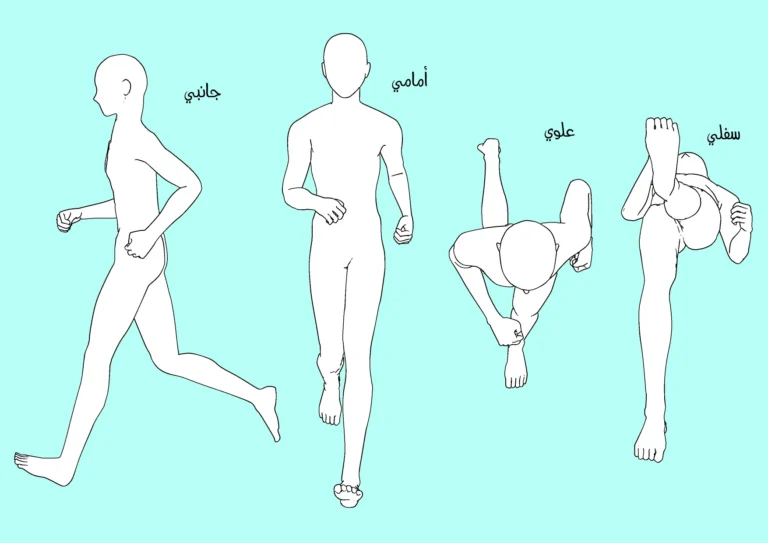
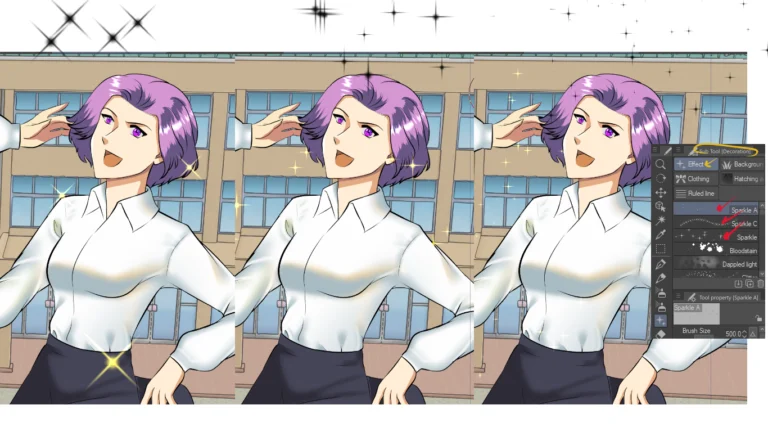
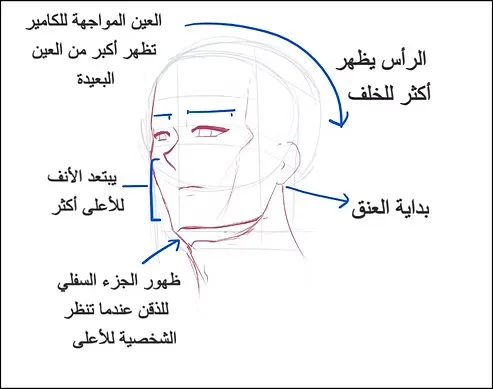
Hello, my dear friends, in a new lesson! Today I will show you how to draw an anime character's entire body using a 3D model. This is an excellent method for those who find it very difficult to draw bodies and different poses, and who don't like spending time drawing from scratch. This tool is the perfect solution to this problem.
My online store has everything you need as artists
This 3D doll is featured in the program Clip Studio PaintThrough it we can fully control it, in terms of body position, structure, height, and so on. It is very useful in saving time and using it to draw positions that are from difficult angles, so prepare the program and let's get started.
First step
We start by running the program that contains the 3D models, and here I used Clip Studio as I told you in the introduction.
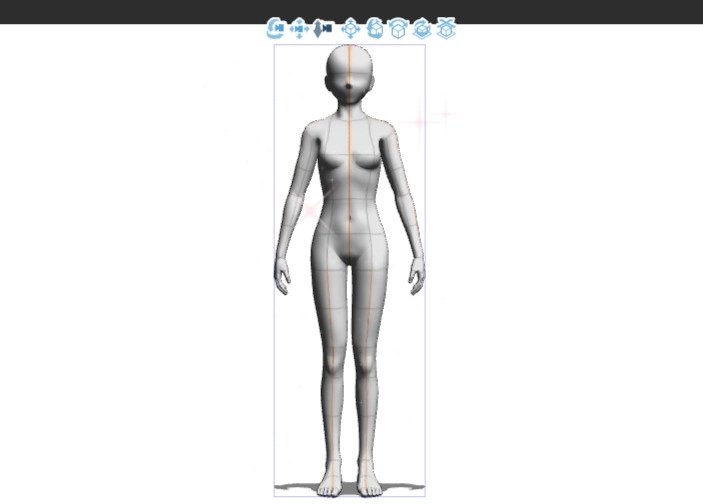
We open the program and then, from the list, we add the shape we want to draw, whether you want a girl or a boy, as shown in the picture.
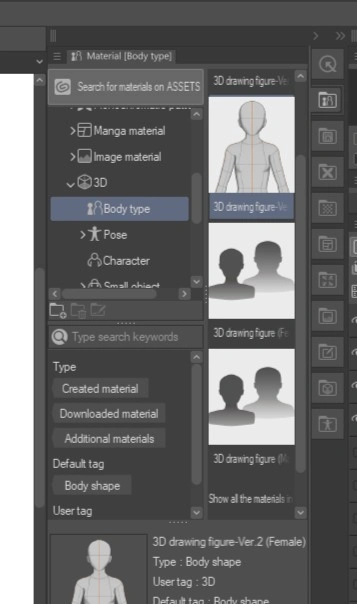
Tools
Below, I will write for you each tool and how to use it, from right to left sequentially. They will appear when you add the character to the drawing board:
- Move Object Tool : To move the object anywhere within the canvas.
- Rotate Object Tool : To rotate the character in general.
- Scale/Resize Object : To increase or decrease the size of the body.
- Move Part (Manipulate Body Part) : To move the arms, legs, head or any part of the body separately.
- Rotate Part : To rotate a limb or joint in a specific direction.
- Perspective/Camera Angle Tool To change the angle of the scene or camera.
- Move on Z-Axis : To raise or lower the character up or down (depth control).
- Reset Pose To restore the body to its default position.
Step two
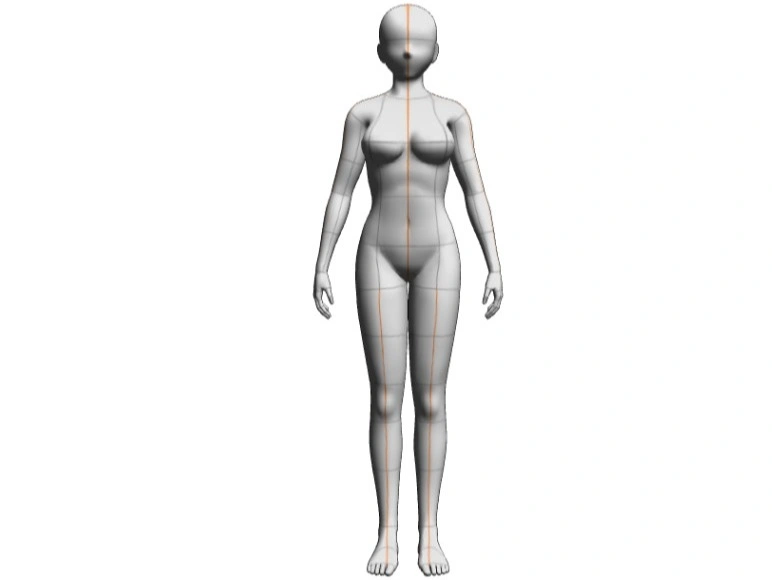
Here is the 3D doll in front of us, and we can shape the body position however we want. Don't forget to use what I wrote to you in the previous step about the tools that will help you shape the position with ease.
Step three
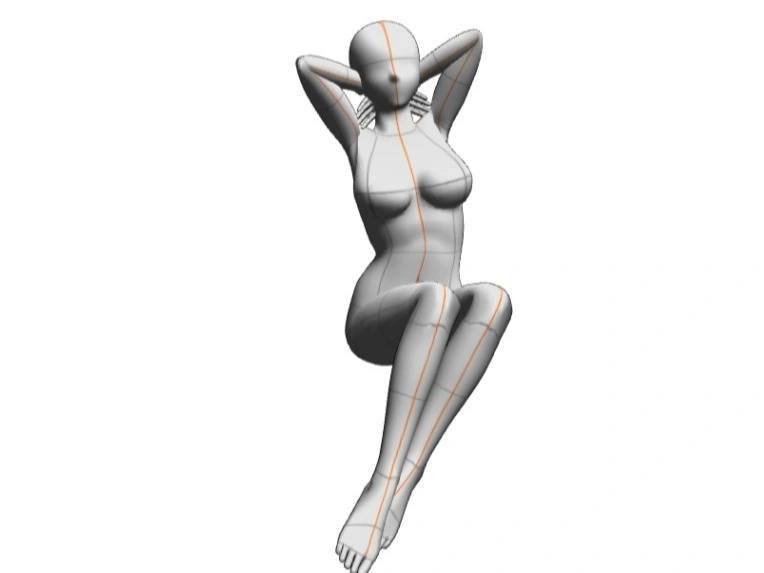
Here I have chosen this position, which I will draw directly on top of, and now I will explain to you how it was done:
- I chose a tool Rotate Object To rotate the model slightly.
- Limb mobilization devices were used to adjust the arms behind the head.
- I bent the legs inwards using a tool Manipulate Body Part.
- I brought my legs together to get into a sitting position.
- I raised my head slightly to make the character appear in a relaxed and balanced position.
Step four
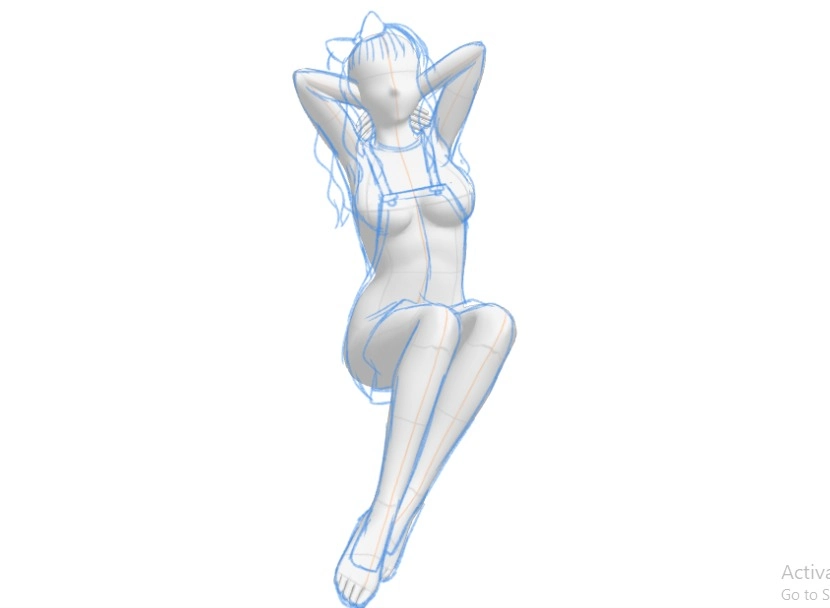
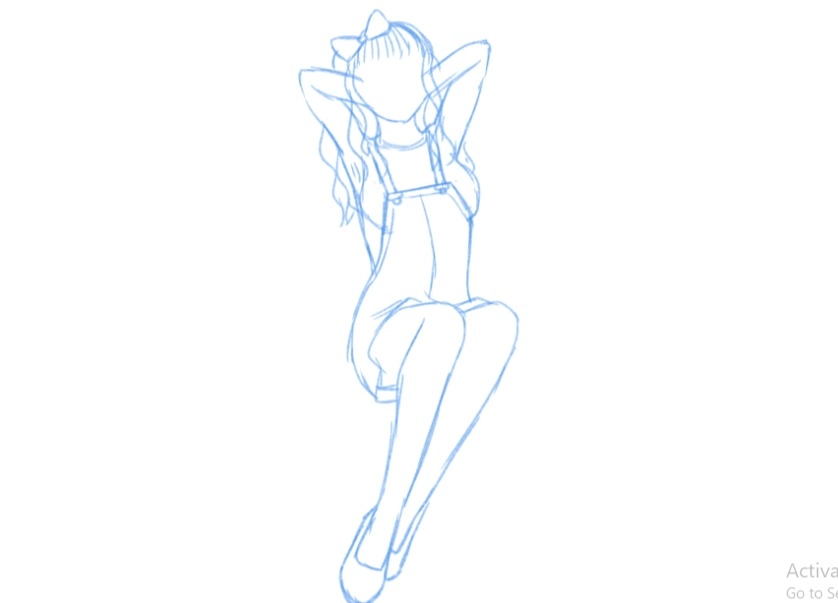
Here we create a sketch and choose the outfit to be worn by the character.
- a guest New Layer.
- We choose the color light blue.
- We define a tool Pencil Tool From the list.
- We draw the shape of the anime girl we want on top of the 3D model.
A closer look
And here are the poses and clothes ready for inking
Professional guide: Turning a 3D doll into anime
Step five
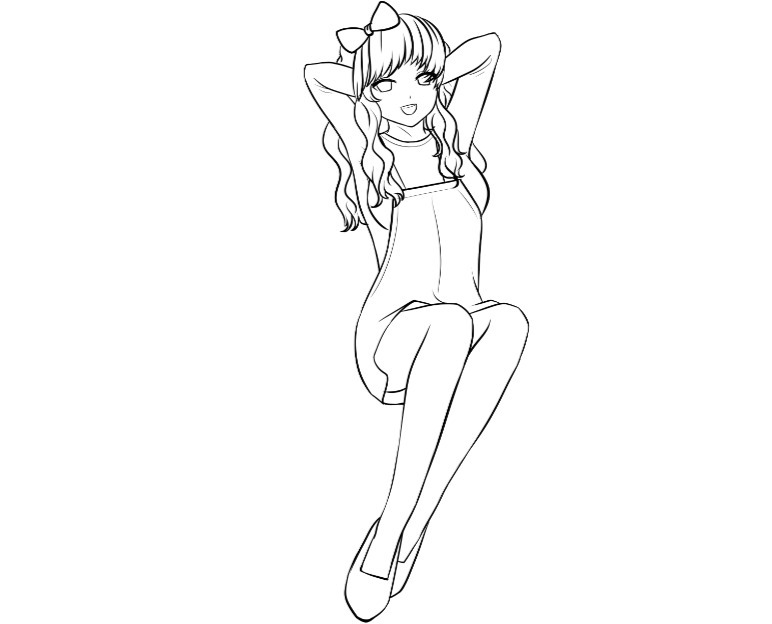
Here we ink with a black pen, and I will explain how:
- We add New Layer.
- We select a tool Pen Tool (Pen Tool).
- We select the color black.
- We begin drawing directly, using the sketch as a guide.
Note: You can thin or hide the doll layer during the inking process.
Step six
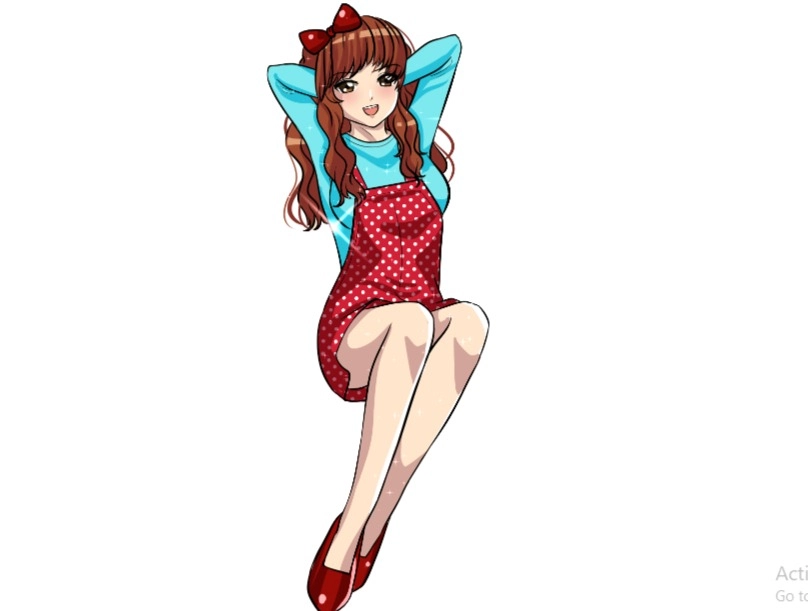
Then, after finishing the inking, we color it with the colors we want, like this:
- We add Complete folder
- We add a folder for each part of the drawing (for example: a folder for coloring the skin or hair).
- We add a new layer to each folder, which is the base color layer.
- We select a tool Fill Tool We color with the base color in the folder for skin coloring, for example
shading
- Add a new layer on top of the main color layer
- We select a slightly darker color to create shading.
- We select a tool Pen Tool We identify shaded areas
- We select a tool Fill Tool We fill in the shaded areas
And so today’s lesson has come to an end. I hope you benefited and enjoyed learning something new today. If you encountered any difficulty with any part, do not hesitate to repeat and try again.
These 3D dolls can be considered one of the most important time-saving tools, especially for artists who like to save time and get rid of the trouble of drawing poses from scratch.
Thank you, and I will meet you soon, God willing.