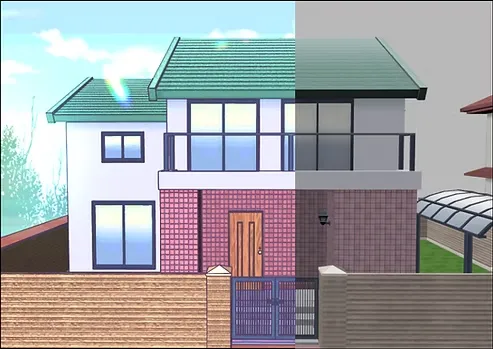
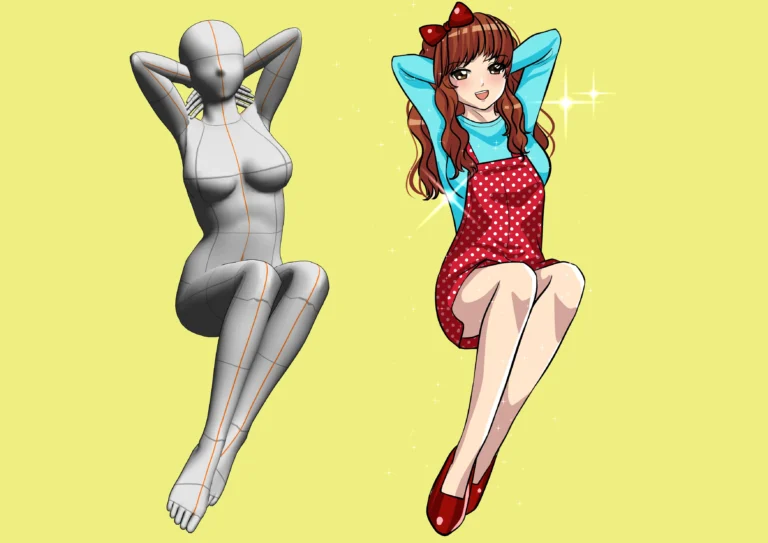
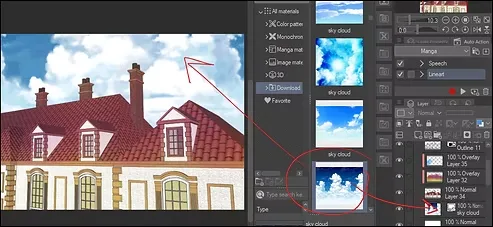
Hello everyone! I'm back today with a new and unique tutorial on coloring anime backgrounds, something that will be useful for anyone working with anime backgrounds or looking to learn how to color anime backgrounds professionally. In this lesson, I'll share my experience of converting a 3D model into an anime-style background, and then coloring it in a unique and easy way for the scene we're working on.
My Patreon account where you can find a detailed screenshot of the animation
This technique combines technology and simplicity, giving us results very close to the anime backgrounds we love to watch. If you're a coloring enthusiast or a content creator, you're in the right place to learn with me step by step.
This is my anime film in which this drawing appeared:
First step
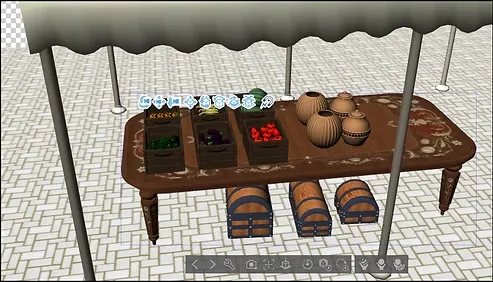
This is a model I put together; each piece was separate, like the table and the boxes, the fruits and vegetables, in order to make them look like products sold in a local market—"in the animation I work on."
All we do is collect the pieces one by one and arrange them in the way we want.
Step two
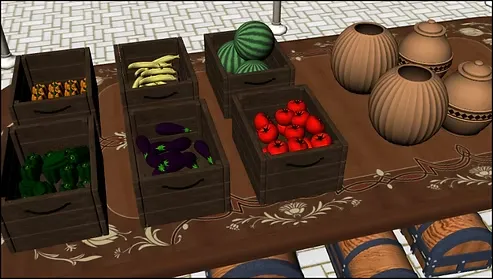
We rotate the objects and choose the angle we want:
- We rotate the objects using a tool Object From the toolbar.
- After selecting the object, the controls (Gizmo/Manipulator) appear, allowing rotation in the three axes.
- We choose the appropriate angle, and from here we begin working on an anime background in preparation for coloring the anime background.
Step three
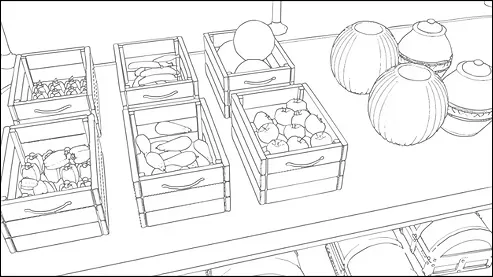
Now we will transform the market into an anime drawing or inking, through the following steps:
- We define the layer of the three-dimensional object from Layer palette.
- Right-click on the layer.
- We choose the option Convert lines and tones
This is how the model is transformed into a two-dimensional drawing that can be colored.
Step four
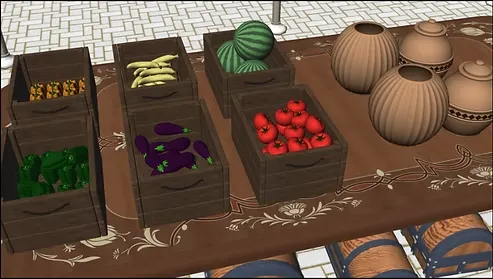
This is the drawing, or the layer of colors, so that we keep the layer of the object itself visible, to use its colors, with the inking lines.
Step five
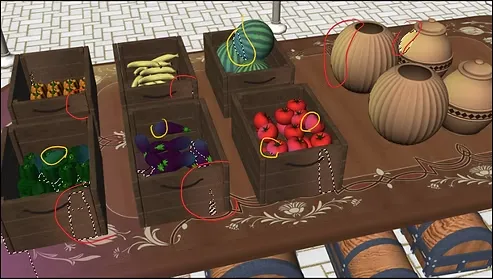
Here we will add soft lighting to the scene:
- We select the right sides of the items (fruits and vegetables) using the selection tool.
- We choose a very light brown color.
- We color the sides to show that the light is coming from the left or top.
- We add to each element a different shade of color that mimics the nature of its material (for example, an apple tends towards light red, a cucumber towards bright green).
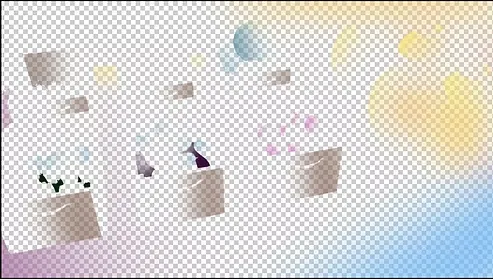
A closer look
This is the layer of colors that we added, appearing on its own in front of you, and of course it is colored by a separate layer on its own.
Step six
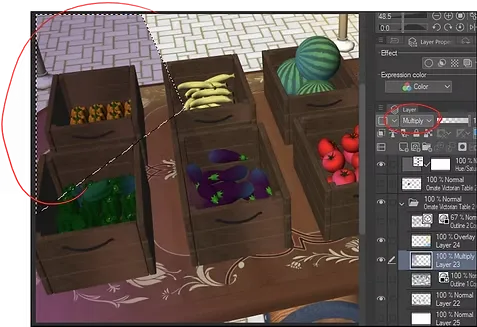
In this step, we will add shading to some interior spaces:
- We add a new layer on top of the elements.
- We choose a medium-dark color.
- We only color the interior spaces.
- We change the layer mode to Multiply from the Layers panel, in order to obtain a uniform color.
Step seven
Then came the stage of precise lighting:
- We use the selection tool Selection tool To identify each piece of fruit or vegetable.
- We choose Airbrush (Soft) From the brush list.
- We add a lighter shade of color to the upper parts as if sunlight is shining on them.
- We focus only on the elements visible at the top, not all the details.
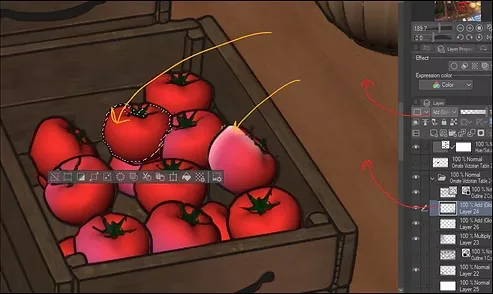
A closer look
This is how it will look. We just focused on the pieces that are visible at the top. You don't need to add them to every piece, just the ones that are visible.
Action effects and backgrounds as wallpapers for your anime
Step eight
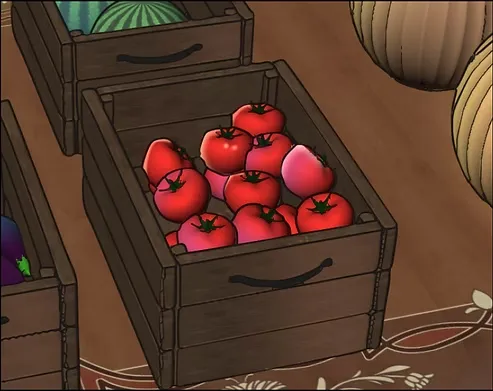
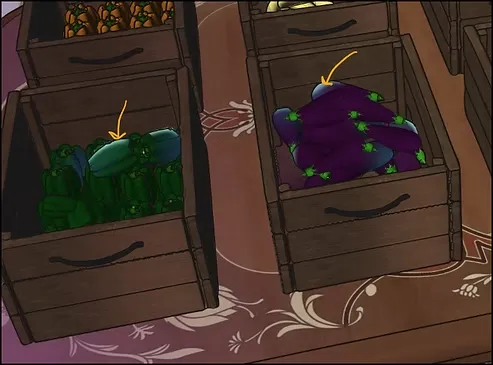
In this step, we will add a blue-tinted shading, to get a result similar to anime.
- We add a new layer on top of the elements.
- We choose a blue-violet color.
- We color the left side of the elements to create a balance of shadows.
- We change the layer's blending mode to Multiply From the Layers panel.
Step nine
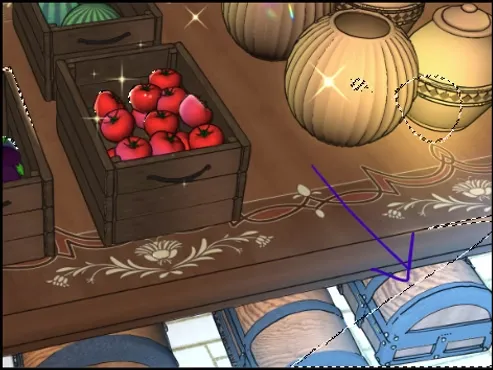
We will add a layer, in order to give a sense of distance and that these elements are out of focus.
- We create a new layer (New Raster LayerFrom the Layers panel.
- We choose a light blue color that is almost white.
- We color the distant elements, such as the boxes under the table.
Final result
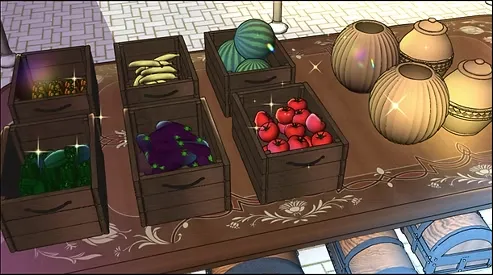
This is the final result, which makes it easier for you to color the anime background. I hope you like it, and look forward to watching the animation in the coming months.
And with that, we've come to the end of today's lesson, which covered coloring anime backgrounds using three-dimensional objects as backdrops. I hope this explanation has inspired you to try this method in your own projects.
Thank you for reading the anime background coloring lesson. I hope to see you soon, God willing.