It wasn't easy to come back after months of absence, but my passion for animation pushed me to revive the idea of "producing" a third animated film in my "professional" career, haha.
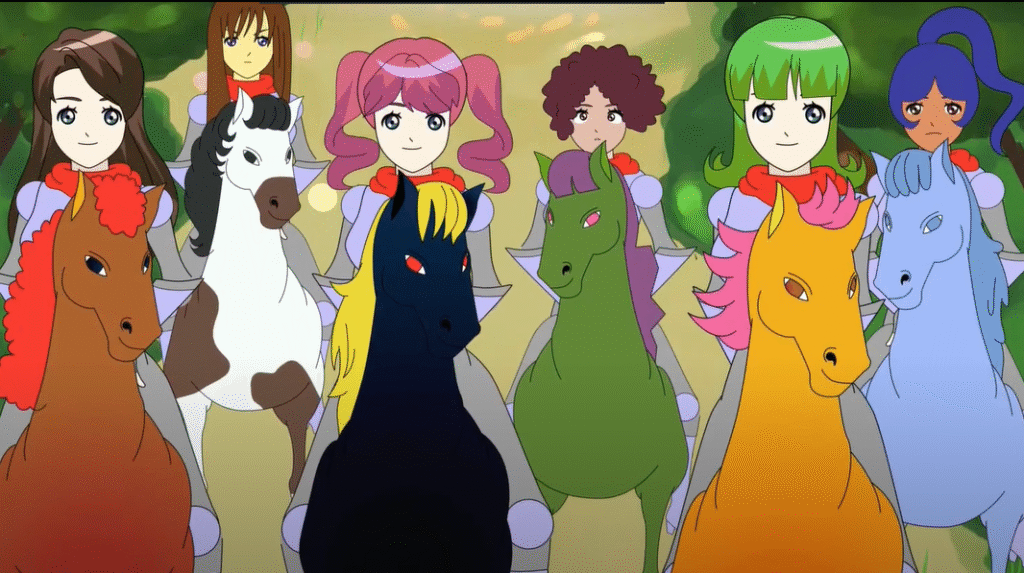
This time I decided to design a style similar to fairy tales. Since my childhood, I have loved telling princess stories before bedtime, and this is one of them, entitled ”The Kidnapped Prince,” a story I told to my family years ago.
At the same time, I didn't want to put in too much effort, frankly, because I know what work on fairy tales requires in terms of effort and detail, so I decided that the duration of my work should not exceed one month.
How it worked:
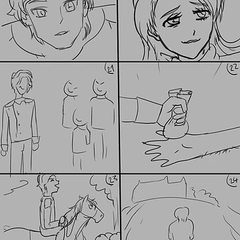
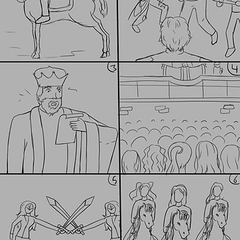
And of course, as I told you last time, I had to write the script, which I finished in a few hours, and then I drew the storyboard, which made many things much easier for me.
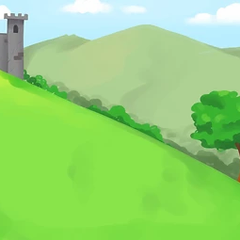
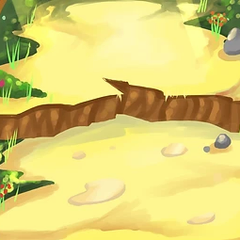
The step before animation is the backgrounds, using the ”Paint Studio” program. I tried to draw quickly and not add too much effort. The most important thing I focused on to make the backgrounds look bright and vibrant was the light colors and the colors of nature.
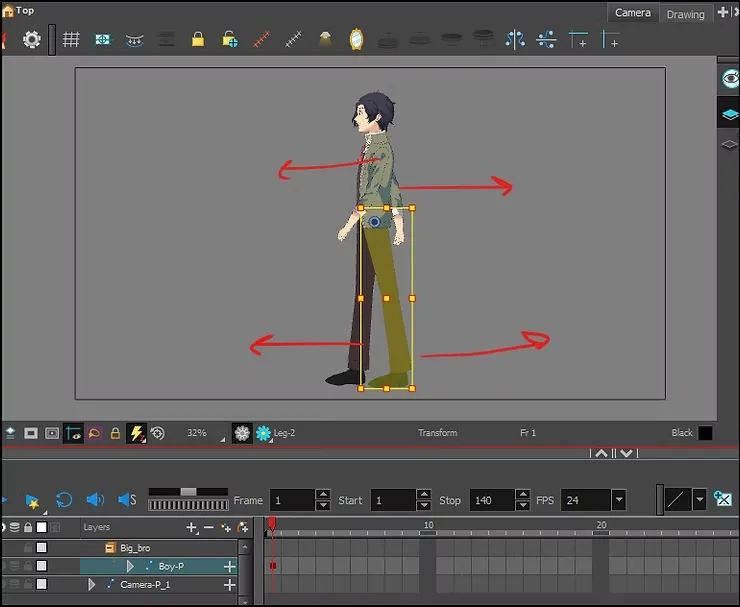
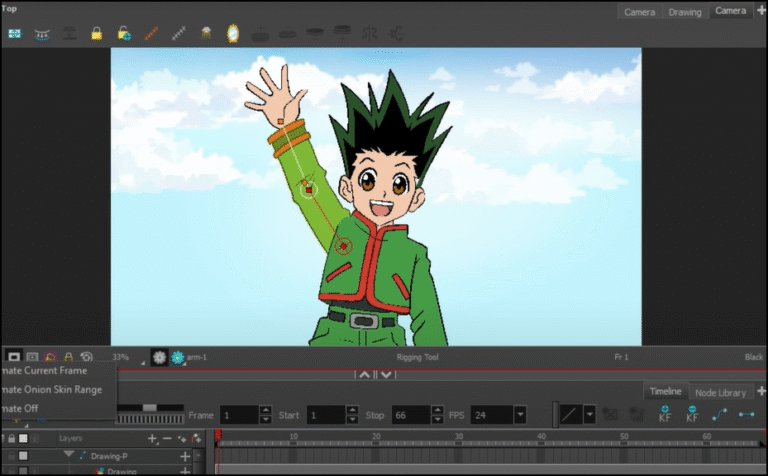
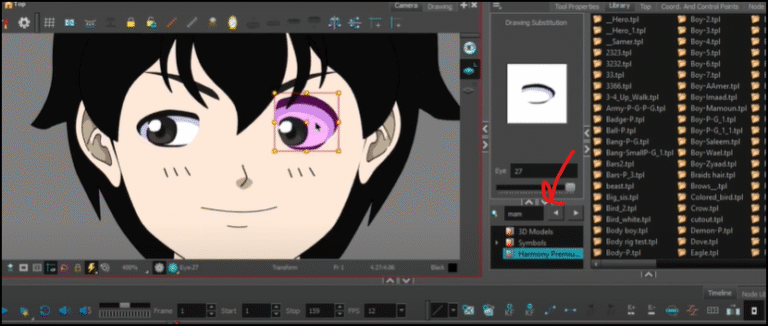
This time when I was working on Toon Boom, I had learned more than I had last time. The new tools made things easier for me, and the method I followed was ”cut-out,” which is to draw each part of the body in a place and move them using a tool. This shortened and made things easier for me.
What did you use?
- Anime and animation program: Toon Boom Harmony
- Background program: Clip Studio Paint
- Editing software: Filmora
In conclusion, I hope that the film has pleased animation fans, and I promise to return to the scene with a bang, creating many more short anime films and some tutorials.
And now I leave you with some pictures and storyboards.