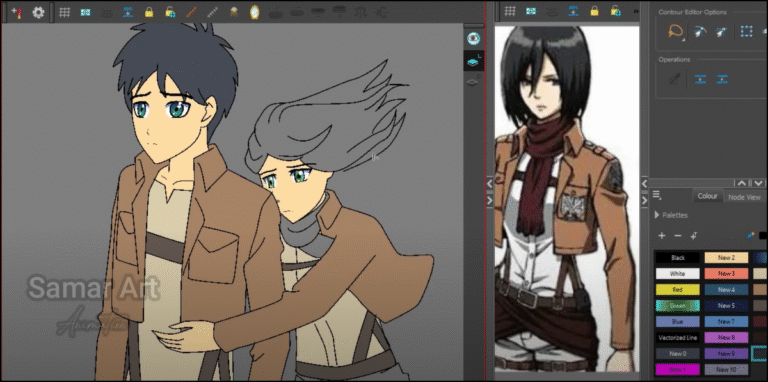
Welcome to a quick and easy explanation of how to add sunlight to the Tone Boom Harmony program easily and professionally, so that you can add a touch of life to your scenes, especially outdoor and morning scenes, to open your works with.
My Patreon account where you can find a detailed screenshot of the animation
Adding sunlight to a scene not only makes the background beautiful, but it also adds natural movement and a lighting effect that enriches the shot and makes your project come alive. Let's now get started with the practical steps, one by one.

First step
We open Toon Boom Harmony programChoose which version you have available, then we will open your project or create a new project according to the appropriate frame size for the scene you are working on.
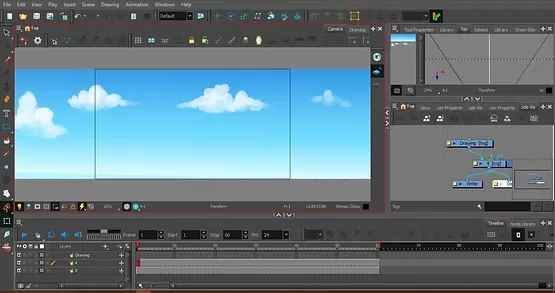
The next step is to add the background you want to add the sun's rays to. Here I added a simple background of a blue sky and some soft white clouds. You can add any background that suits your scene.
Step two
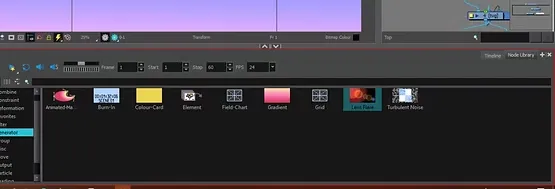
We scroll down to the bar Timeline Then we go to the search box located at the bottom of the screen and type in: Lens Flare.
Step three
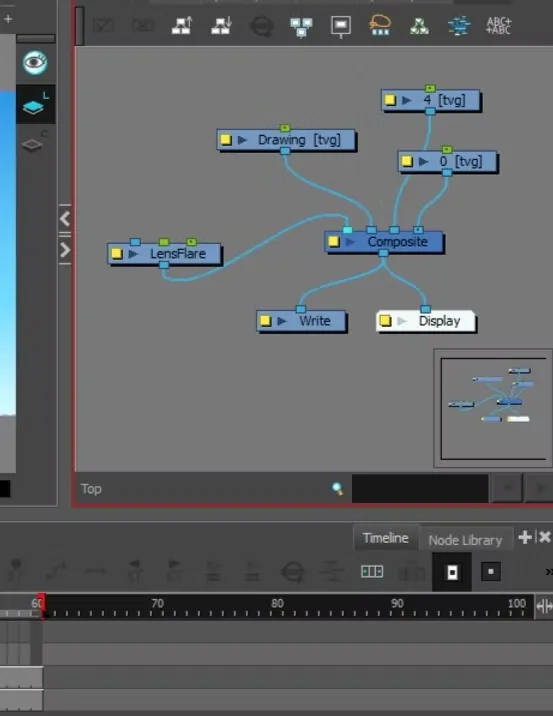
Once we find it, we By dragging the effect directly into the Node View window Project-related.
Then we By connecting the Lens Flare effect with Composite The main thing is that the sun's rays appear in the scene, and you will immediately notice the sun's rays appearing with their natural glow on the screen.
Step four
At this stage, you can either leave it static or add movement to make the sun move in the scene and add more realism. I will now explain how to animate the sun's rays in practical steps.
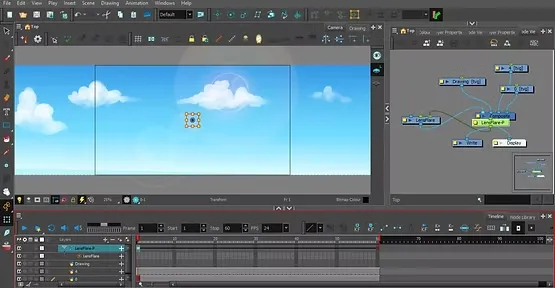
- We press on the sun layer (Lens Flare) in Node View We add: Peg by right-clicking on the layer and selecting: Insert > Peg ،
Or you can drag a tool Peg From the top toolbar, drop it onto the big layer. - We place keyframes to move the sun.
- We add Key Frames By standing on the first frame in TimelineThen press the F6 button to add a keyframe initial that defines the beginning of the sun's movement.
Step five
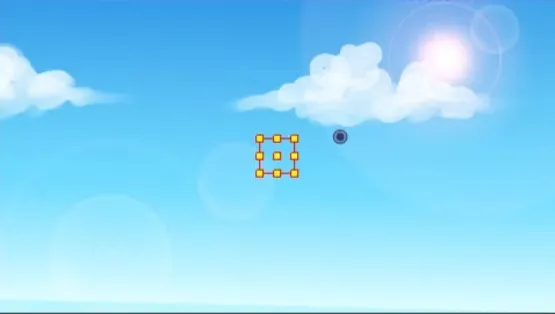
We choose Transform Tool From the left column (tool number 3 from the bottom), it can be quickly activated using the shortcut: Shift + T
We begin by identifying the sun's position in the first frame and dragging it towards right side of the screen So that the beginning of its natural movement appears.
(Settings: Opacity can be reduced slightly at the beginning to add a gradient to the appearance of light).
Step six
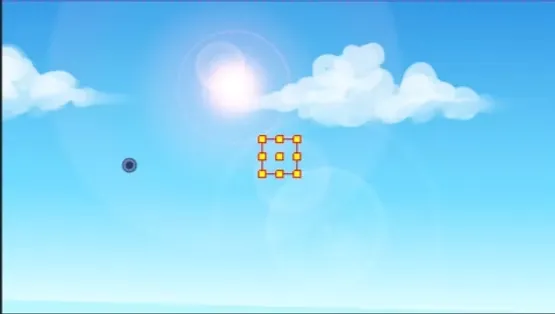
Now we go to the frame we want to be the end of the animation (such as frame 60 or 90 depending on the scene speed), and press: F6
To add a new keyframe.
In this context, we drag the sun towards the left of the screen using the pan tool, with the option to move it up or down to add a natural feel to the movement.
Step seven
We add a slowdown or speed-up effect to the movement to make the sun's rays move smoothly by going to the Timeline, selecting Keyframes, then right-clicking and choosing: Set Ease For Keyframe
And choose: Ease In / Ease Out
To specify the desired deceleration and acceleration percentages. For example, Ease In at 50% can make the sun start slowly and then speed up, or Ease Out at 50% to make it gradually slow down towards the end of the movement.
Lens Flare properties themselves can be modified, such as:
- Sunlight scale
- Brightness level
- Glow Type
- Light color
This is done by identifying Lens Flare in Node ViewThen proceed to: Layer Properties
To adjust these settings according to your anime style and the scene you are working on.
After applying the previous steps, you will notice that the sun's rays move from right to left in the scene with lightness and beauty, with the light glow appearing beautifully and professionally on the elements and background.
Add a Ton Boom camera and zoom in or out on the scene.
With these steps, we have learned together how to add sunlight to anime scenes in the Toon Boom Harmony program in practical and professional steps, with the possibility of adding movement and aesthetic touches easily and quickly.
There are several different ways, if we can, to control the color of the light and the duration of its intensity through the settings when you are working on the program.
Thank you, and I hope to see you again soon.