Welcome, my friends, to the lesson on hair animation using the bones in the Toon Boom Harmony program on the computer. We will learn how to make the strands fly naturally with the wind, in an easy way for all animators who work in the field of anime and cartoon animation. .
My online store has everything you need as artists
First step
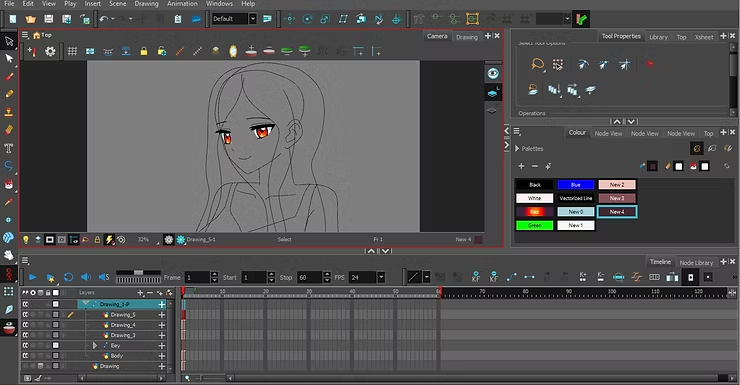
Here we will begin drawing the character whose hair we want to animate. As I mentioned in previous explanations, you should draw the character on a single layer, except for the part you will be animating. Here, as agreed, we will be animating the hair. Therefore, we will draw the body on one layer, and then draw the hair on a separate layer. You will find the final, simple scene at the end of the article.
- Add a layer Add Drawing Layer
- We select the pen tool Brush Tool (Alt + B)
- We draw the entire character → using Brush Tool On the first layer
- We add a new layer and draw the hair in it. Add Drawing Layer New + Brush Tool
The longer the hair, the easier it is to move, and there may be difficulty in moving short strands.
If you want to move more than one strand, you must add a separate layer for each strand, so that you can move each one individually.
Step two
Here, when we color, we must not forget shading. Shading the hair is extremely important, as it adds beauty to the drawing and brings it closer to the style of Japanese anime. Then, after shading, we add highlights to the hair.
- We identify the body layer Body Layer
- We choose skin tone and clothing Skin & Outfit Colors
- We select the filling tool and color the girl. Paint Tool (Alt + A)
- We go to the hair layer and color it, and add shading as well. Hair Layer + Shading
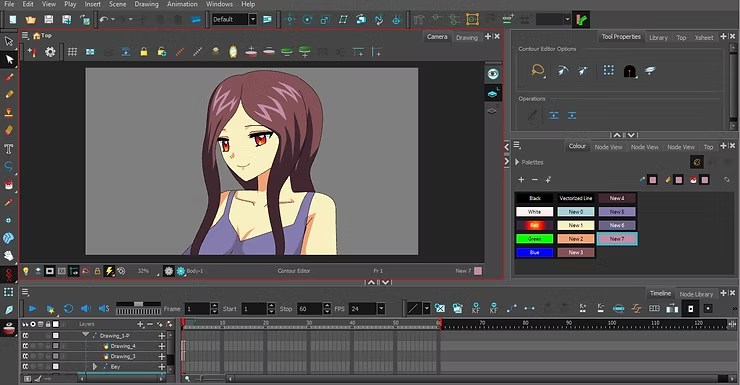
Step three
Here's where the fun begins! From here we can be creative in how we move the hair. For example, if the character is standing in a windy place, the hair should move at a tremendous speed, but if it is in a place with gentle breezes, we move it in a way that makes it appear light.
Our first step is to add bones. There are several types of bones, one for moving fabrics such as a dress or scarf, one for moving the arm and legs, and many others. But today we will focus together on the bones for hair, which I have marked in red, and which look like a bone.
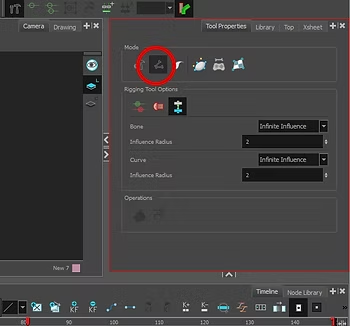
Step four
We press Toolbox Where the hammer tool is located, and there you will find Bone Tool. Then we move to the layer specific to the hair strand, by clicking on the strand itself in Drawing View or Node View. Then we add the bones using Bone ToolFrom the top of the head to the ends of the hair. But make sure the tool is touching the hair strand and not far from it, so the movement works smoothly.
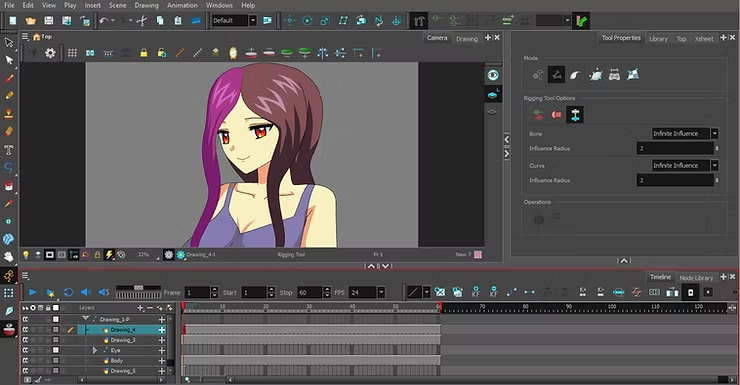
Step five
We repeat the same step with the rest of the strands, we go to each strand, and add to it its own moving bones.
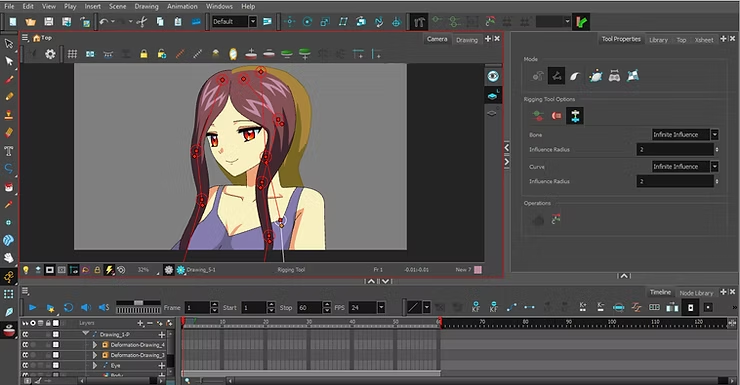
Step six
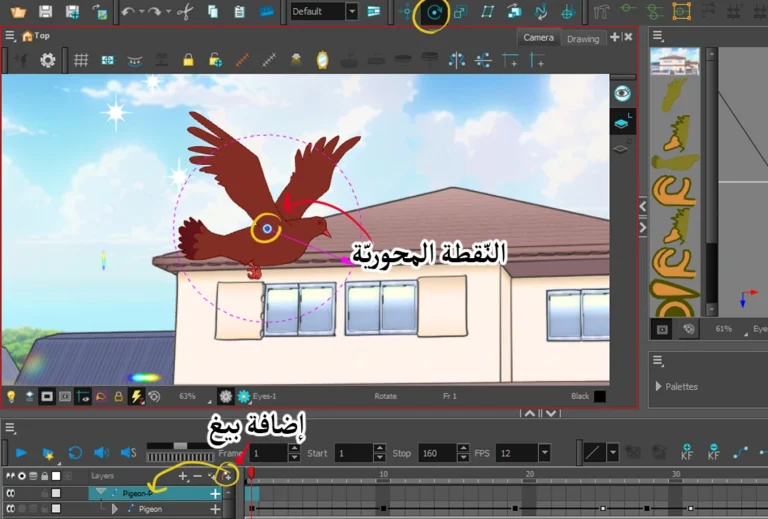
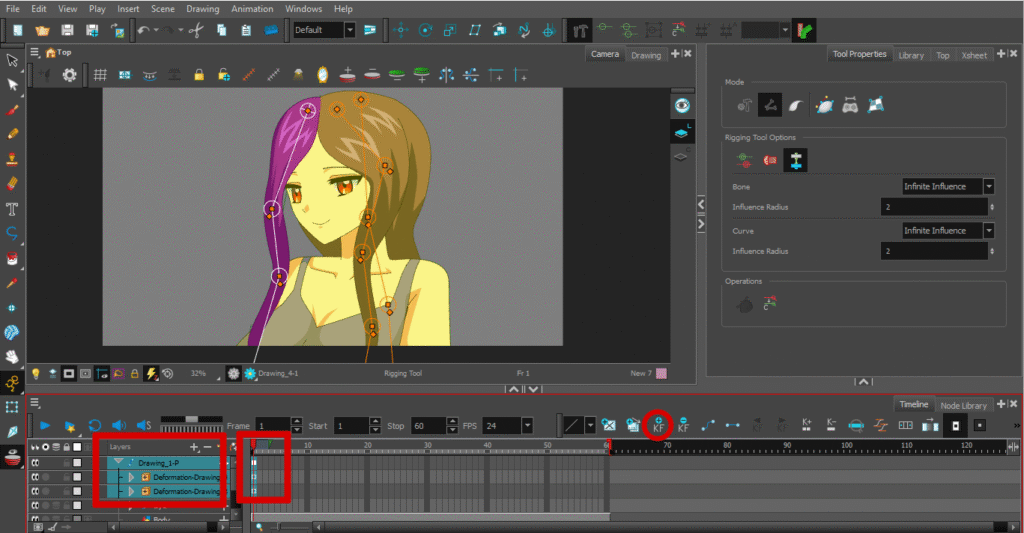
We click on the tool Transform tool The animation tool should make the hair appear yellow; this confirms that animation is enabled. Then select the hairs and press [the button/button]. Timeline Start with the first frame to begin the movement, then add a key. Key frame.
Then we go to the frame we want to stop at and add a key key frame Then we move it, whether you want the hair to go to the north or upwards.
The movement will appear before us, and there are black dots which are the key movements, and the dots will be on top of each other, but we will bring forward each of these “key frames” 3 or 4 frames for smoother operation.
Final result
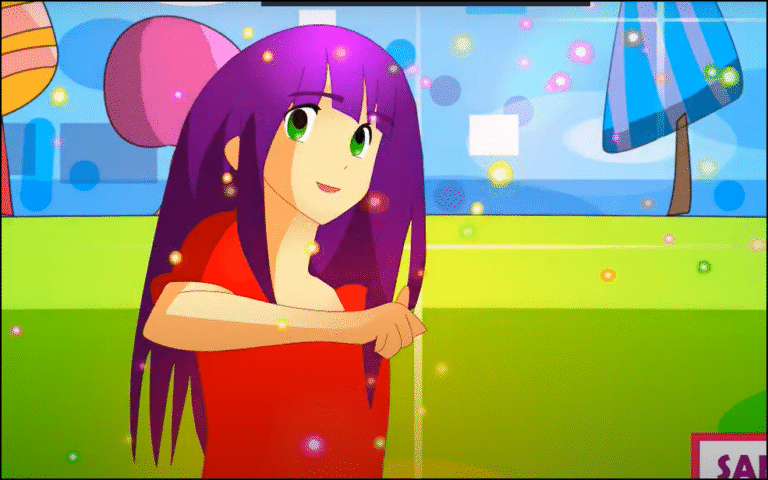
This is the final result, after we used an easy and simple method to move the hairs with the bones. Watch it in the video below.
Your comprehensive guide to animating an anime character that walks on bones
The animation here is very simple, and the goal is to show you the method designed for animating hair without fatigue, so you can spend more time editing and adding details to make the scene look more detailed.
And that concludes today's lesson. Follow the instructions carefully to achieve great results. Thank you, and I'll see you in future lessons.