Hello, my creative friends! Today we'll learn together how to animate a car window reflection in anime scenes in a professional and easy way. We'll create a unique scene where a girl inside a car is watching the outside view, and this view is reflected on the car window with captivating clarity, as if the car is actually moving on the road. This type of scene adds realism to your anime, so let's get started!.
My online store has everything you need as artists
First step
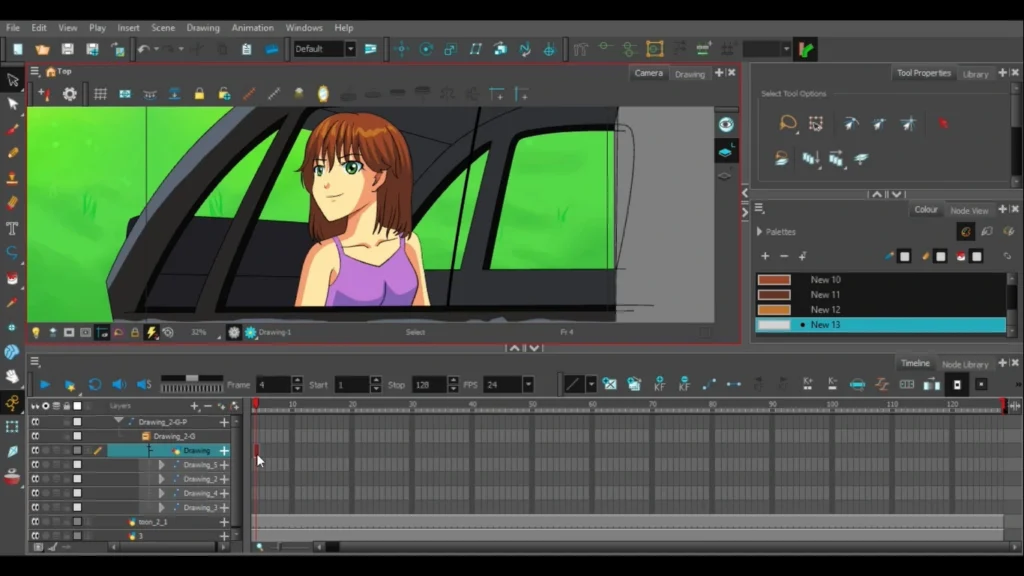
As usual, we begin by preparing the scene inside Toon Boom Harmony:
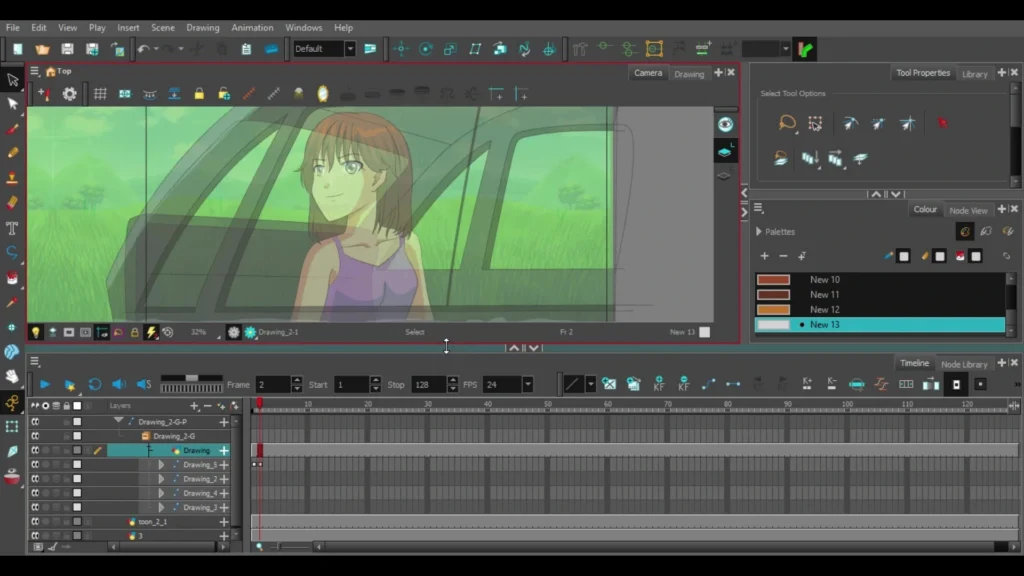
- We draw the car From the inside, in a separate layer, taking into account the shape of the front and side windows, without the need to draw the wheels if they are not visible in the frame.
- We draw the girl inside the car In another layer, so that her gaze is directed outwards to give the impression that she is watching the road or the outside view.
- We move on to Coloring the car and the girl Using basic colors while taking into account light shades.
Step two
Now we add a new layer and draw the car's windshield on it, making sure that it matches the shape of the drawn windows exactly, then we color it with a dark grayish-white color so that we can later control its transparency to clearly display the reflection of the view on it.
This step is important because it makes the scene look somewhat convincing, as the glass appears real while the reflection of the view is being moved onto it.
Step three
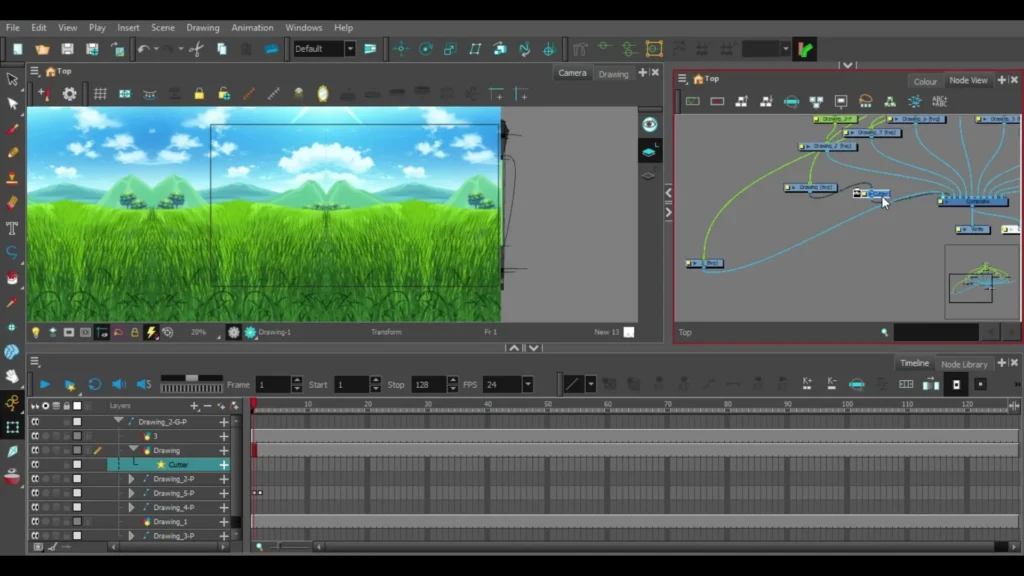
In this step, we prepare the background we want to reflect on the car window within the program. Toon Boom Harmony. It could be an image of the sky, a street full of trees, or buildings, and we add it as follows:
- We go to File > Import > Images From the top menu.
- We select the desired image (background) from the device, and press Open.
- A dialog box will appear; make sure the option is enabled. Add to Scene as Layer Then press OK.
- The background will be added automatically in Timeline As a new, independent layer under the name of the imported image.
- We click on the layer in the Timeline and rename it to “Background Reflection” for easier organization.
- We use a tool Transform Tool (abbreviated as T) To adjust the background position to its correct place within the scene, to match the angle of the shot and the glass area.
Step four
To properly connect the rear window to the windshield, we apply the following steps:
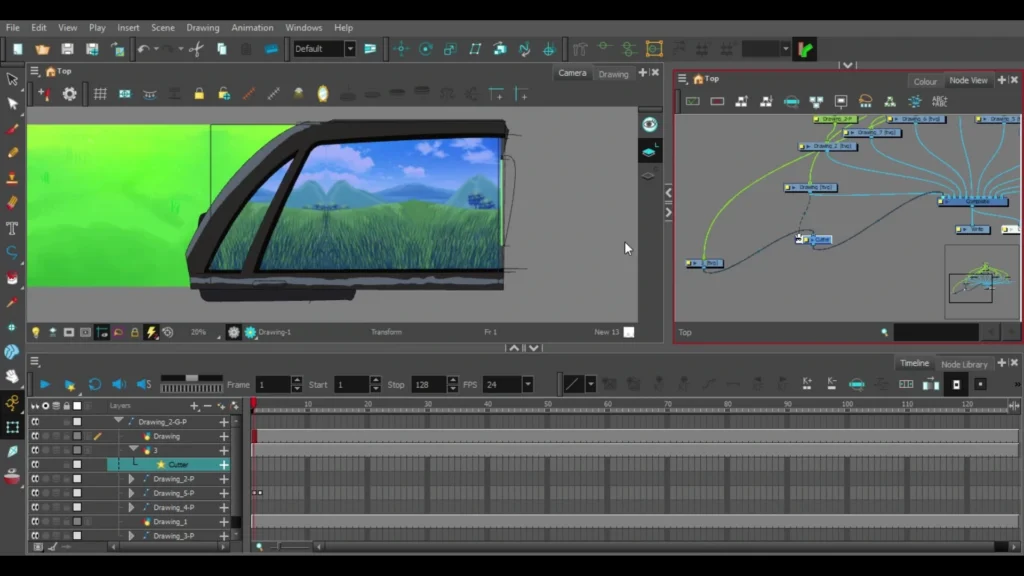
- from Node Library We are looking for a tool Cutter We add it to the project.
- We go to Node View Let's look at the nodes and organize the work.
- We hold the background while holding down Alt and attach it to the Cutter tool.
- We attach the Cutter to the windshield of the car.
- We press Cutter twice to make the view appear completely inside the glass frame without it coming out of it.
In this way, we have added an organized movement of the reflection of the view on the car window, folks.
Step five
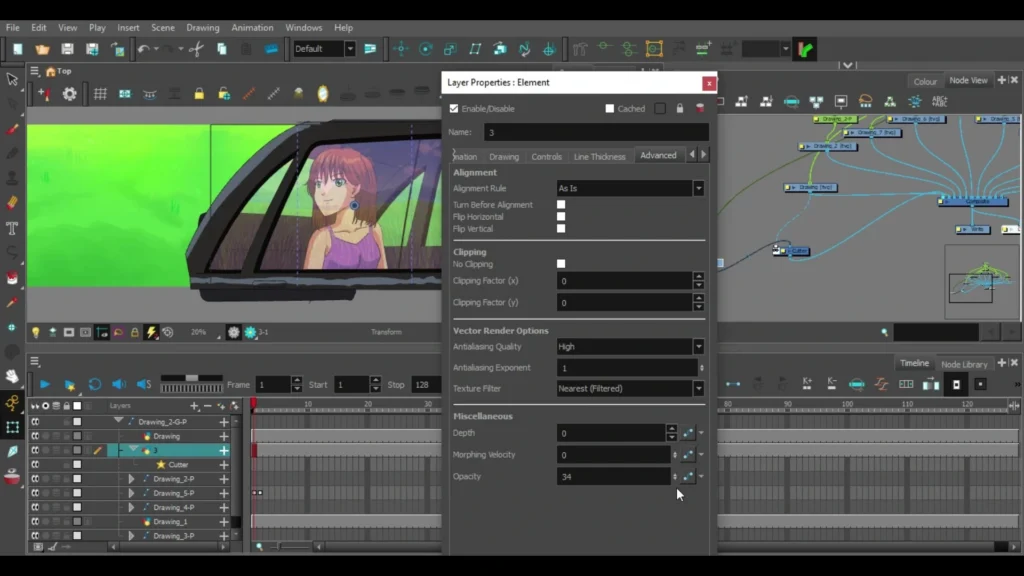
To make the reflection appear natural, we do the following:
- from Node ViewWe double-click on the background layer.
- We go to:Advanced > Opacity > 51% almost.
This makes the exterior view transparent, appearing above the glass and giving the impression of real glass in a scene of moving reflection of the view.
Step six
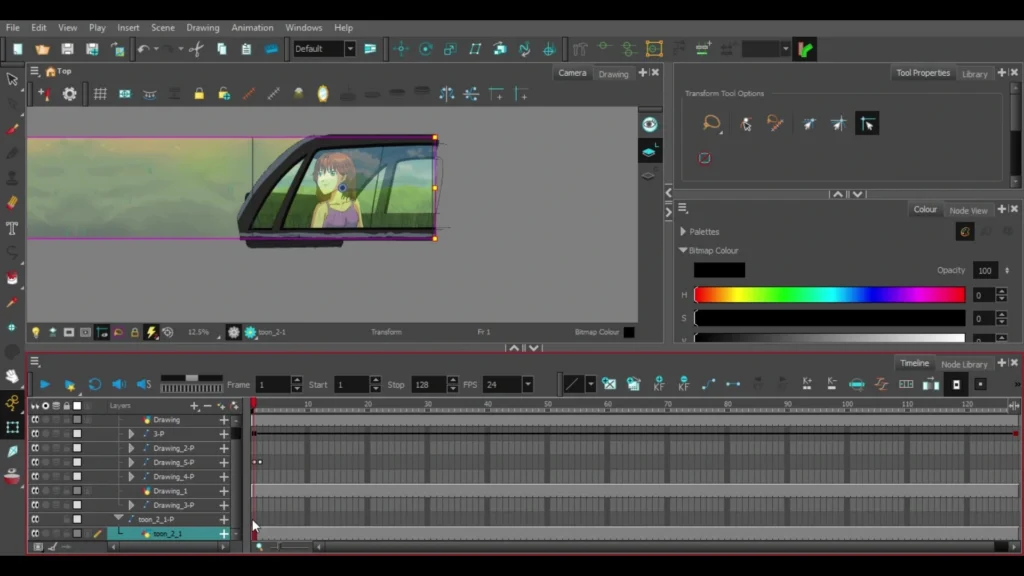
To make the car appear as if it is moving on the road, we use the method of moving the reflection of the view on the car window by moving the background in the opposite direction of the car's movement:
- We define the background.
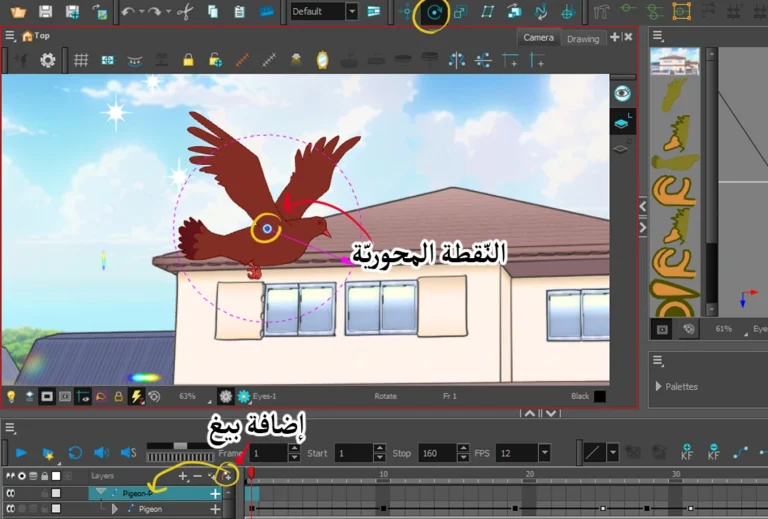
- We add Peg.
- We use a tool Transform Tool To move the background to the right if the car is moving to the left, or vice versa, to make the scene appear natural.
How to move an anime car: A comprehensive guide to moving engines
Step seven
To add natural movement:
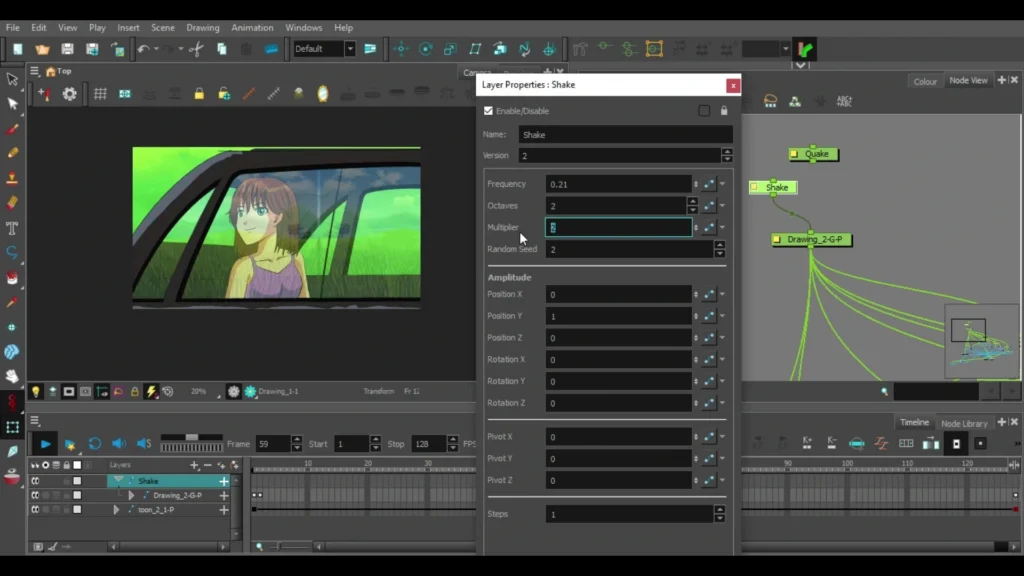
- We go to Node Library We select a tool Shake.
- We add it to Node View We press it twice.
- We adjust the settings so that the car vibrates very slightly while driving, so that it appears to be moving without exaggeration.
Additional notes when adjusting the mirror reflection on the car window:
- You can add an effect Lens Flare or Glare To add sunlight or additional reflections to the glass.
- I always recommend checking the speed of movement to ensure it is realistic.
- It can be modified Opacity Depending on the intensity of the lighting in the scene.
Watch the video to see the scene of the reflection moving on the car window.
Video: https://youtu.be/7LHSljxPr-Y
Today we learned how to move the reflection of the view on the car window within an anime scene in an easy way and with a professional result, so that viewers will understand where the car is going.
I advise you to try this method on car, train, or any glass scene in the anime you are working on, and you will be amazed by the beautiful result you will get. Thank you, see you in future lessons, God willing.